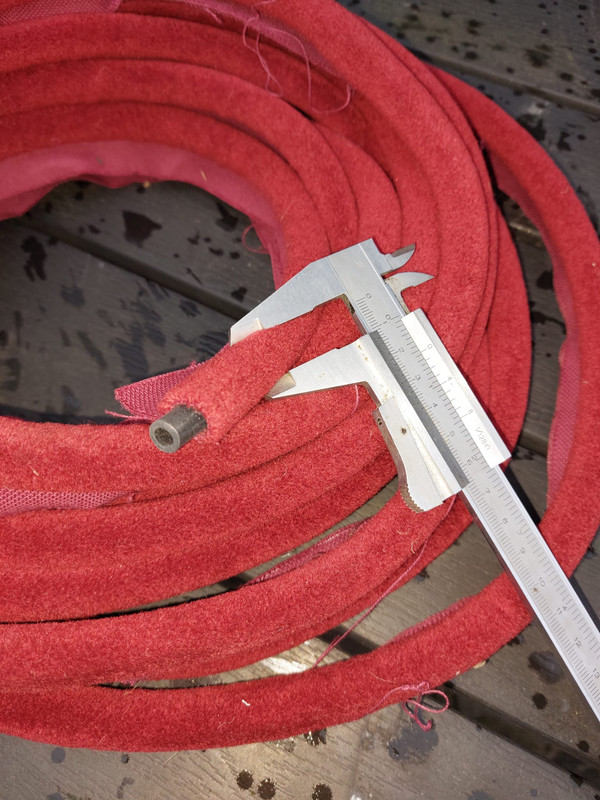
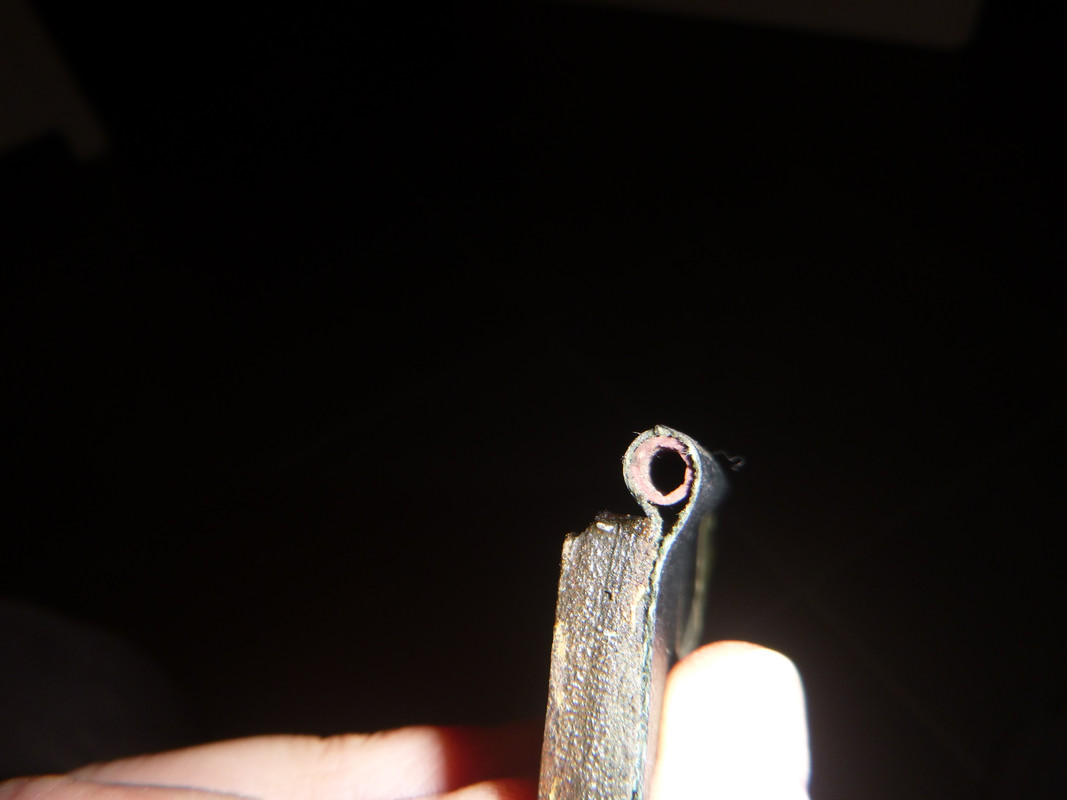
Here is the link: https://burlen.co.uk/
- Welcome to AC Owners Club Forum.
This section allows you to view all posts made by this member. Note that you can only see posts made in areas you currently have access to.
#2
Ace, Aceca & Greyhound Forum / Ford Zephyr 6: which oel?
May 03, 2024, 19:26:41
Dear Zephyr 6 engine owners,
who can tell me which motor oel do you use? I found in an old manual for this engine the specification SAE 20 or 20W. But I would like to use a modern oel.
Does anyone use a 15W40 or a 20w50? Any experiences you can share?
Cheers, Peter
who can tell me which motor oel do you use? I found in an old manual for this engine the specification SAE 20 or 20W. But I would like to use a modern oel.
Does anyone use a 15W40 or a 20w50? Any experiences you can share?
Cheers, Peter
#3
Ace, Aceca & Greyhound Forum / Re: BE 646
April 28, 2024, 09:14:08
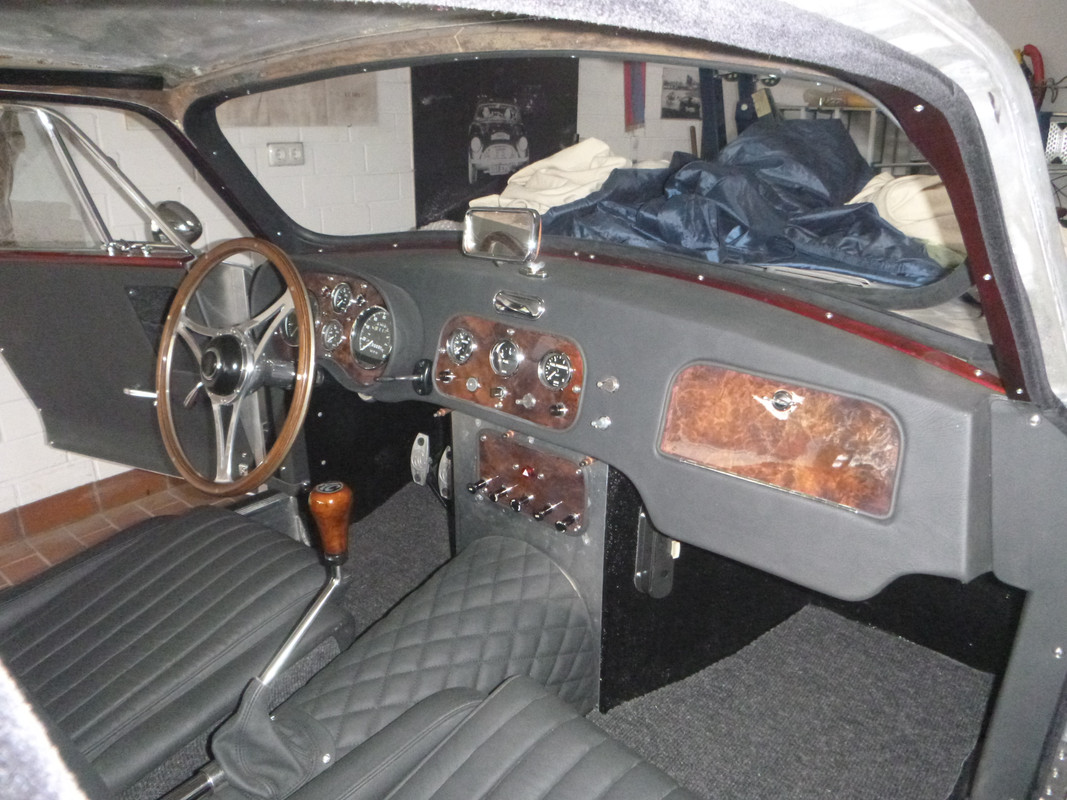
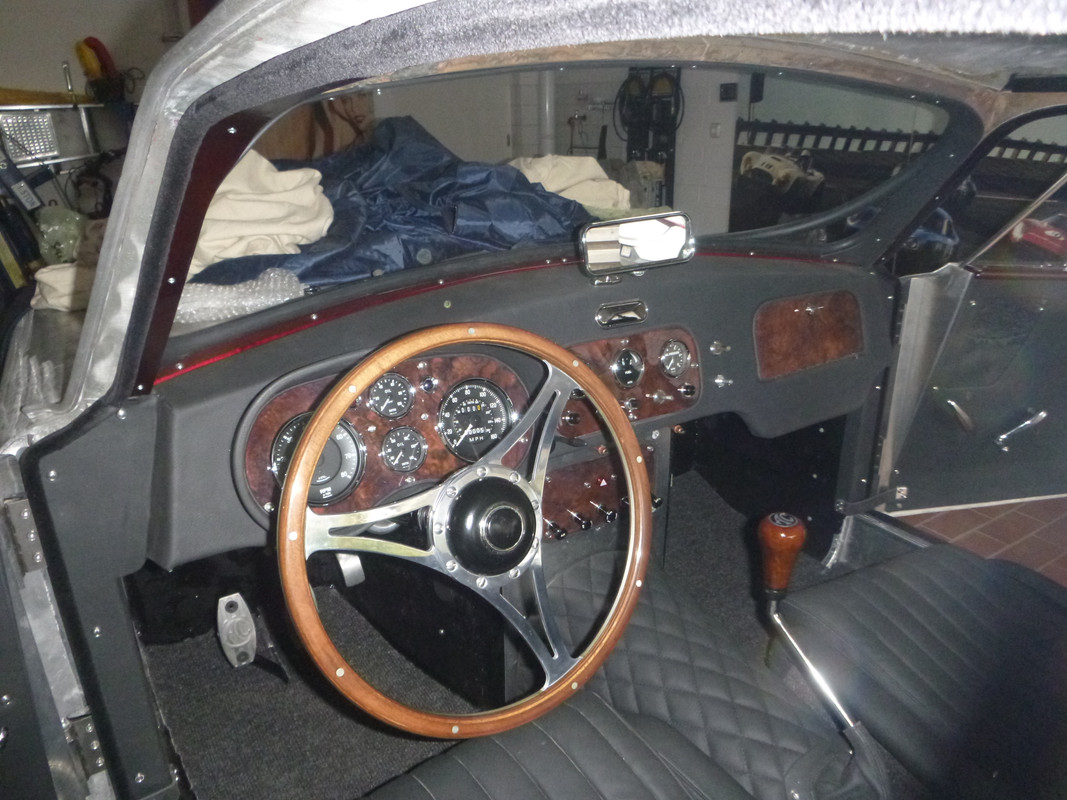
Now, the other wood parts are finished. The construction is identical for all parts. An aluminium plate covered with walnut veneer. Grinding the wood with 280 and then covering it with seven layers of one component wood clear coat. Grinding that with 400, 600 and 1000 wet sand paper. Finally it was covered with two layers of a two component car clear coat.


#4
Ace, Aceca & Greyhound Forum / Re: Aceca window winder handles needed
April 05, 2024, 06:16:42
I bought my new handles here: https://www.vintagecarparts.co.uk/categories/vcp-coachbuilding-and-body-fittings-handles-escutcheons-winder
I think the correct part is: https://www.vintagecarparts.co.uk/products/218-window-winder
I think the correct part is: https://www.vintagecarparts.co.uk/products/218-window-winder
#5
Ace, Aceca & Greyhound Forum / Re: BE 646
March 10, 2024, 17:39:53
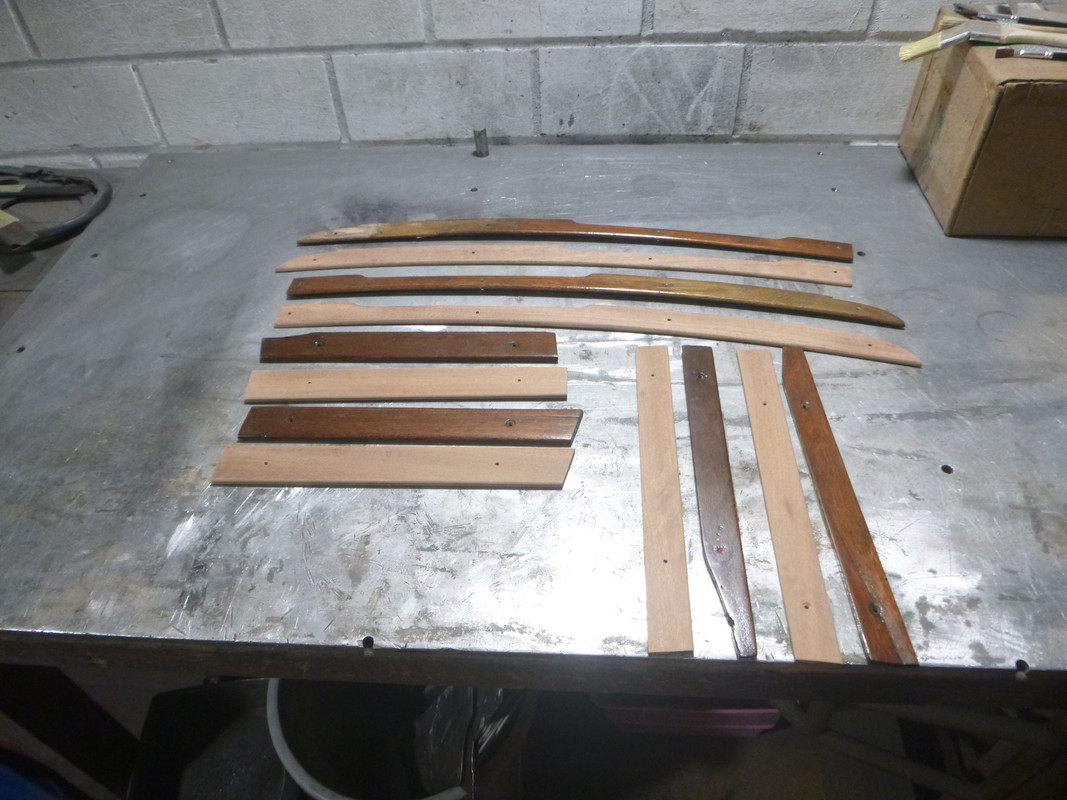
Nearly all wood parts around the windows are broken and must be replaced.
The wood on the dashboard near by the windscreen had a rotten place. I tries to repair this part but I wasn't able to find the right wood stain to fit the old colour.
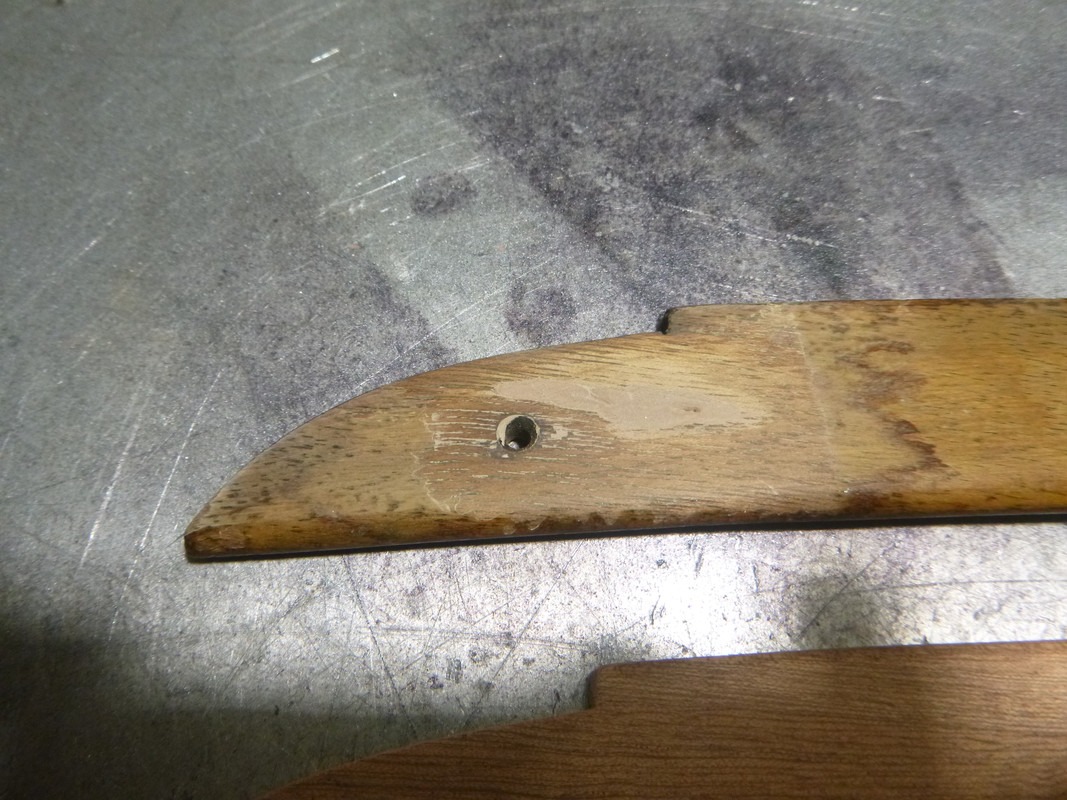
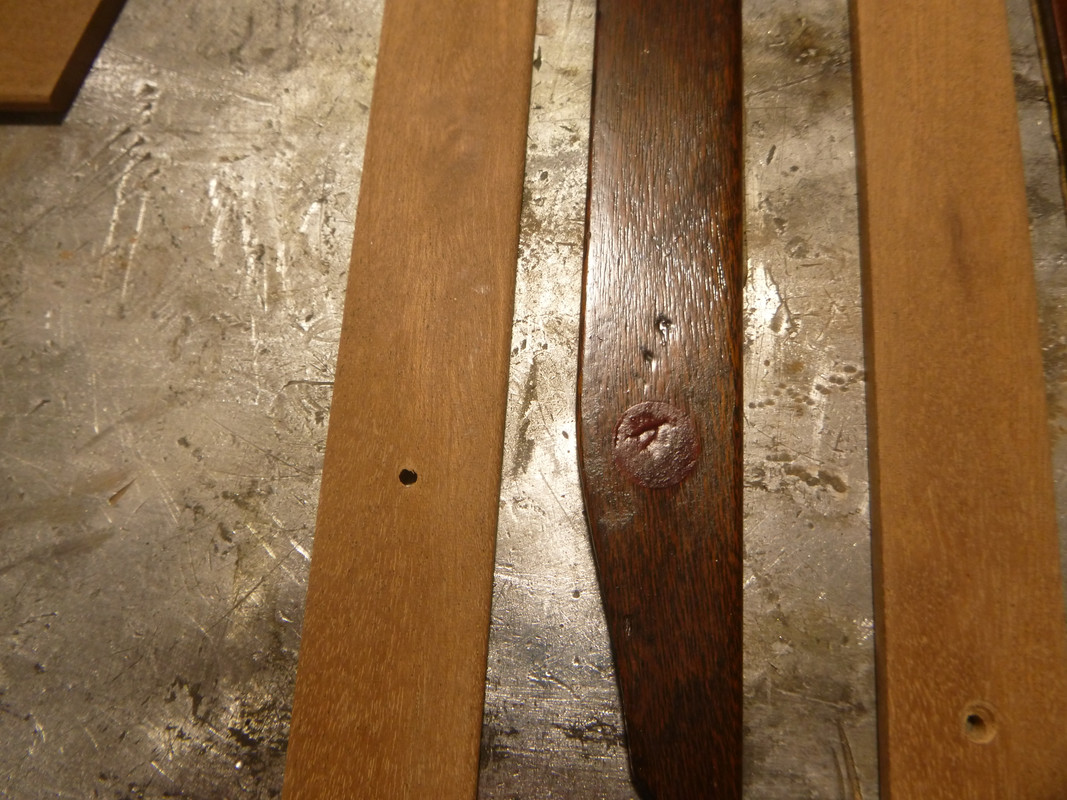
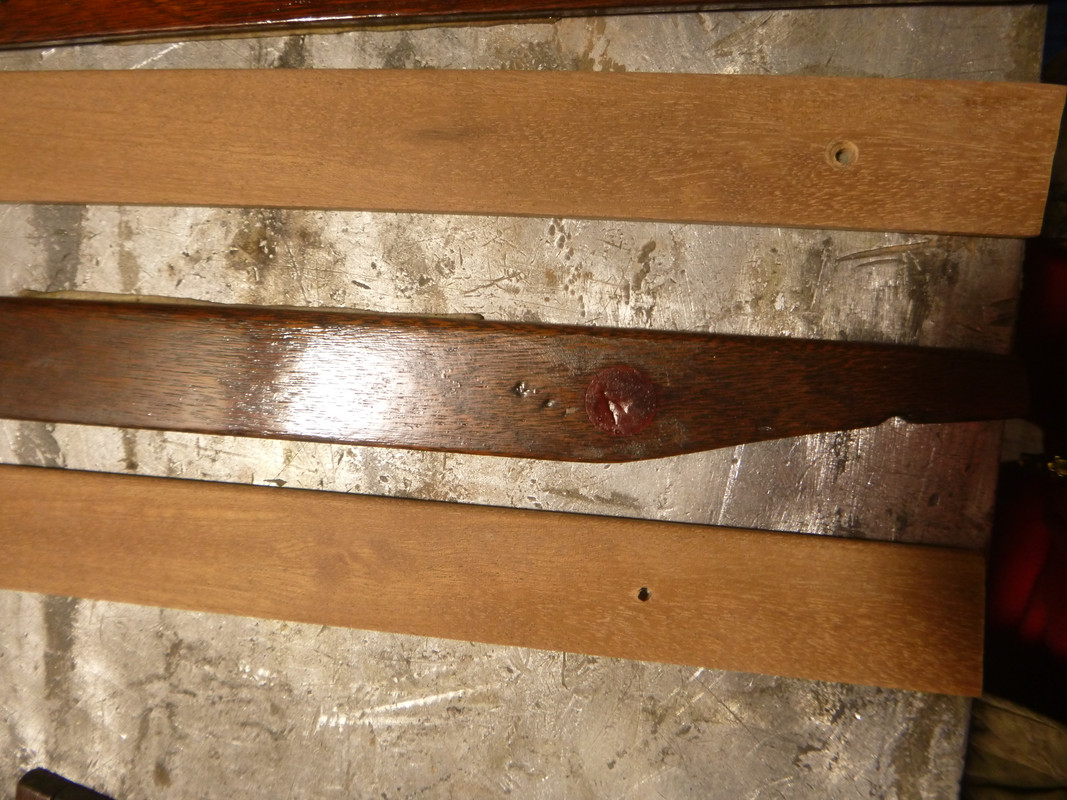
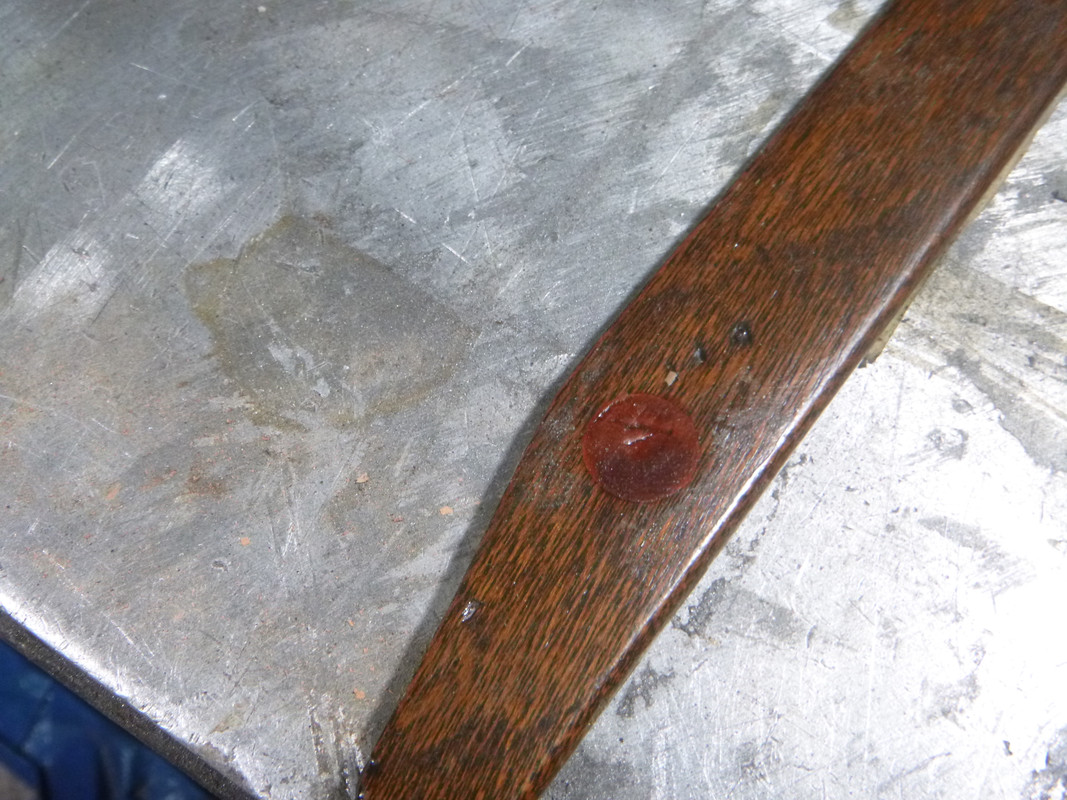
I had the idea to enforce the wood at the place where the rear side window hinge is screwed by an inlined piece of aluminium.
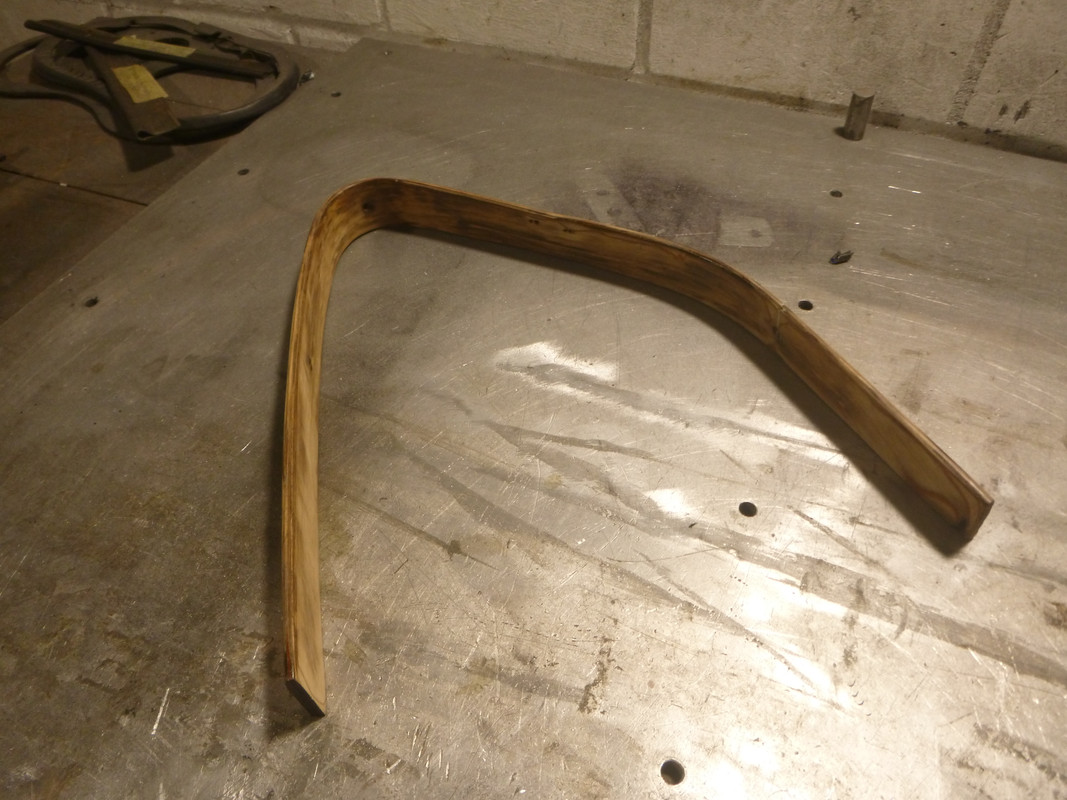
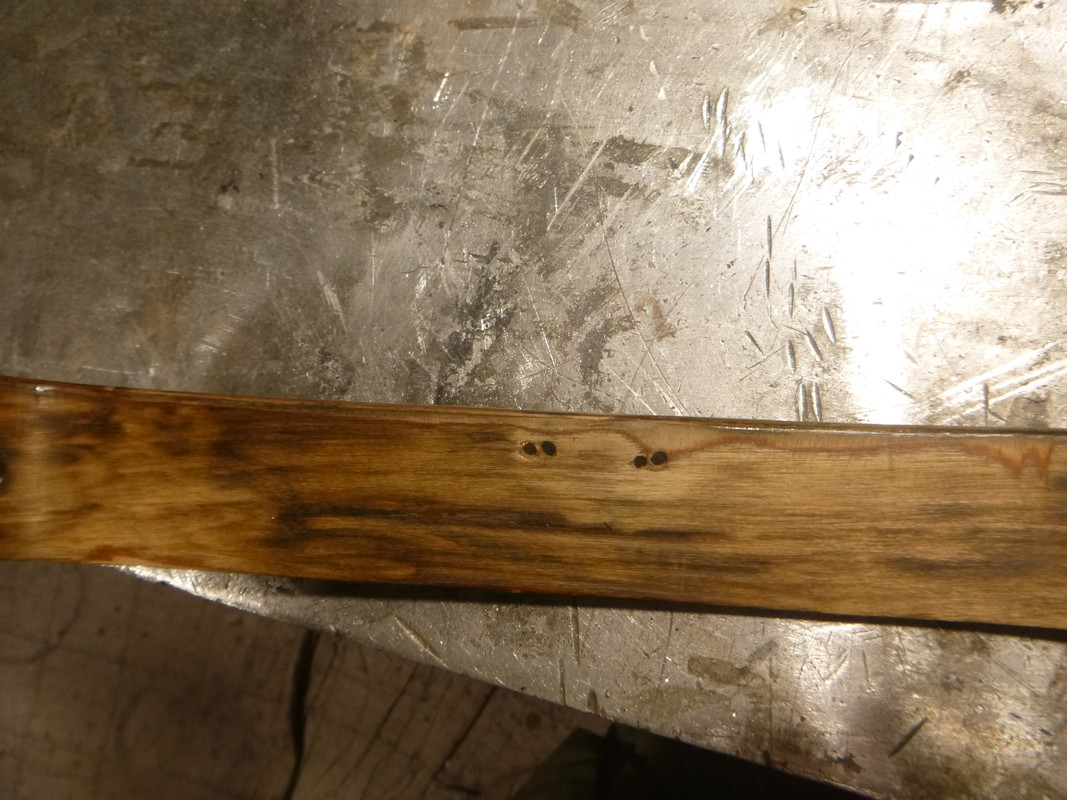
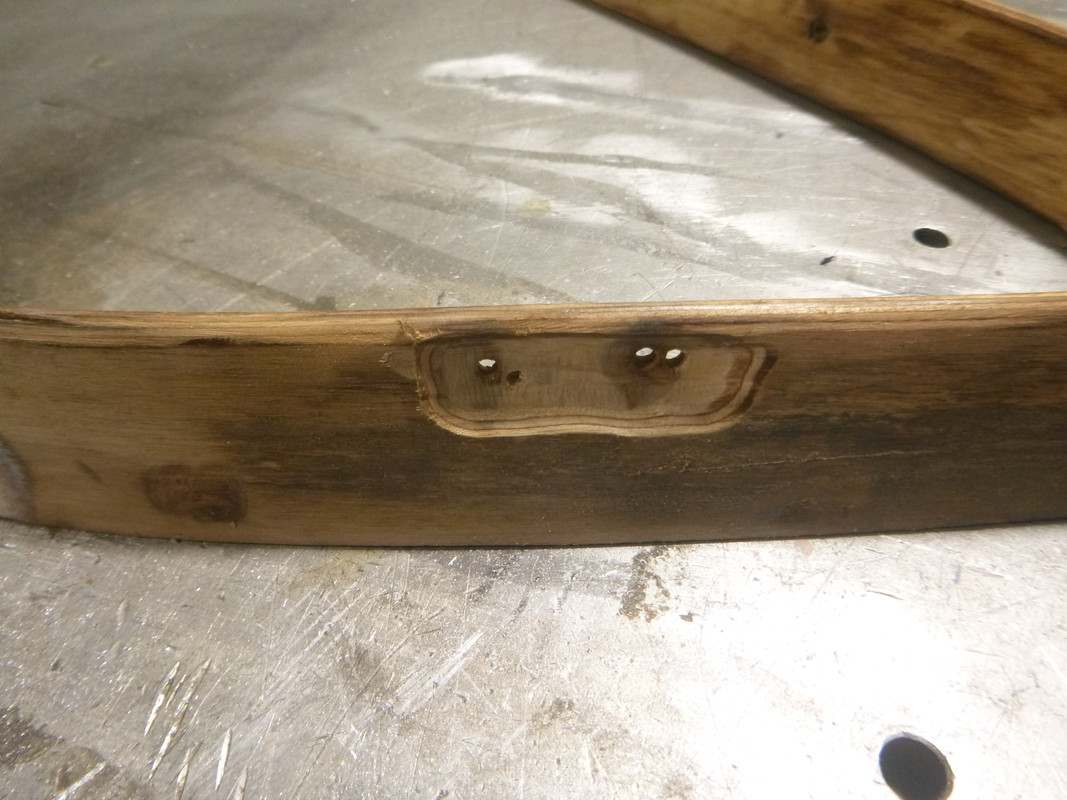
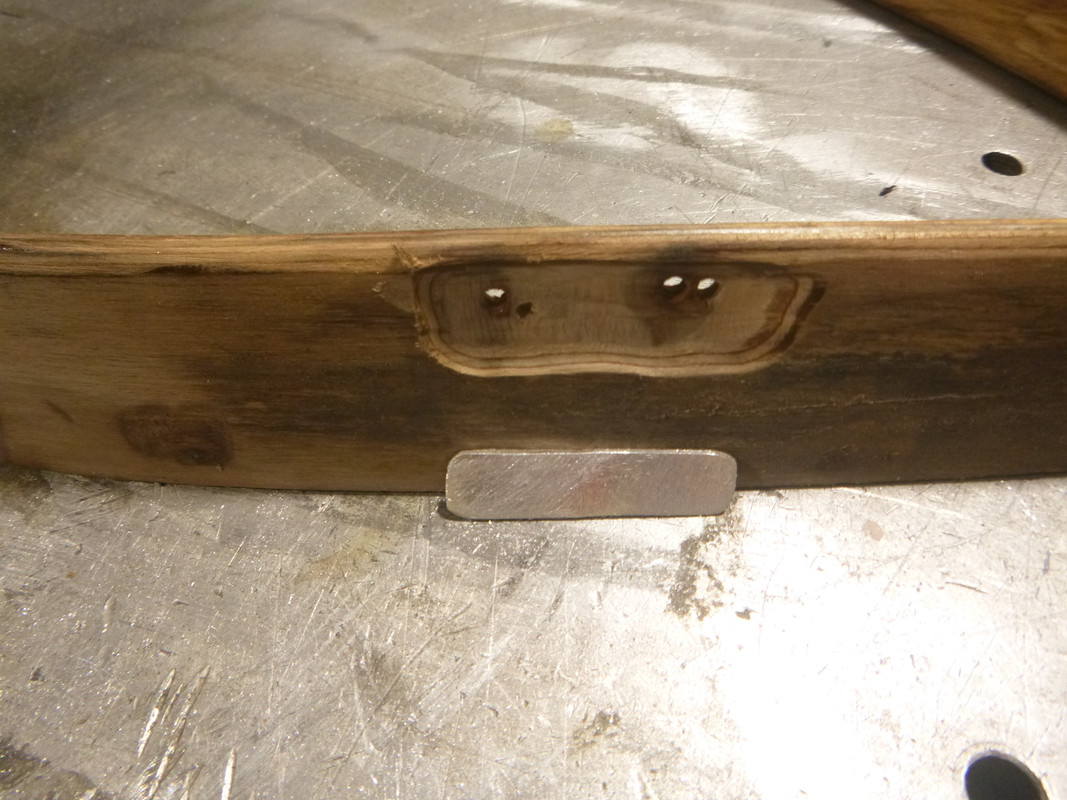
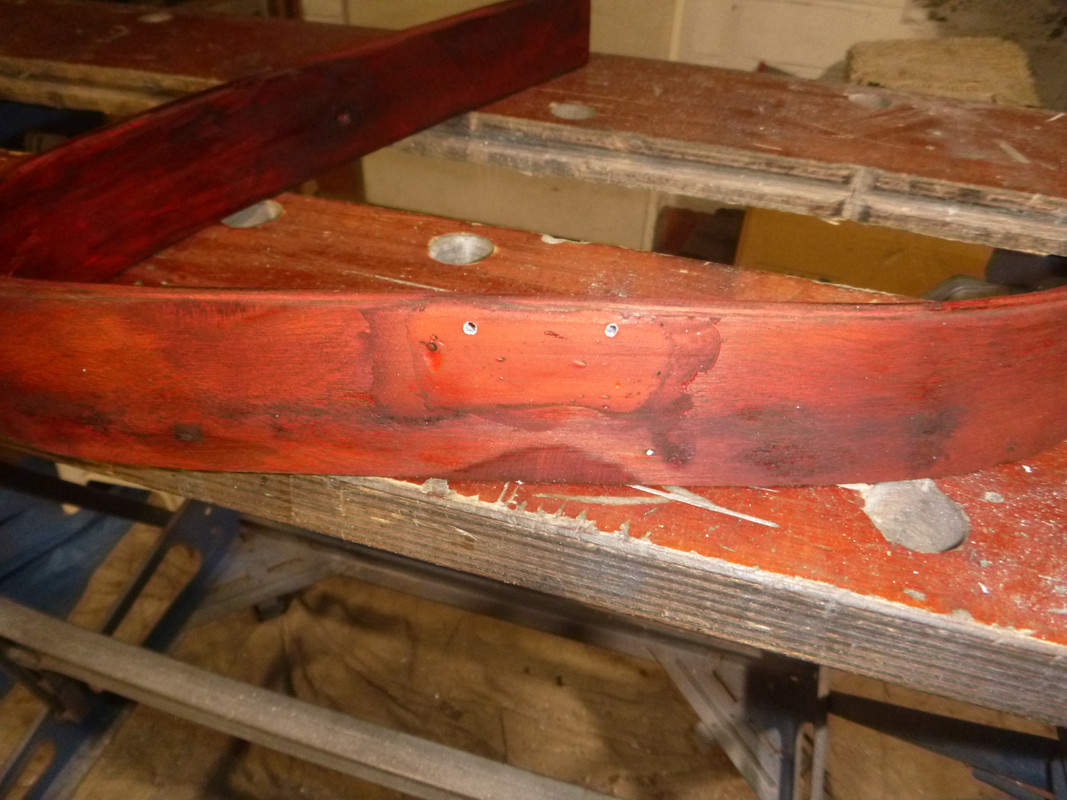
The new wood parts look good but have a different colour compared to the old pieces.
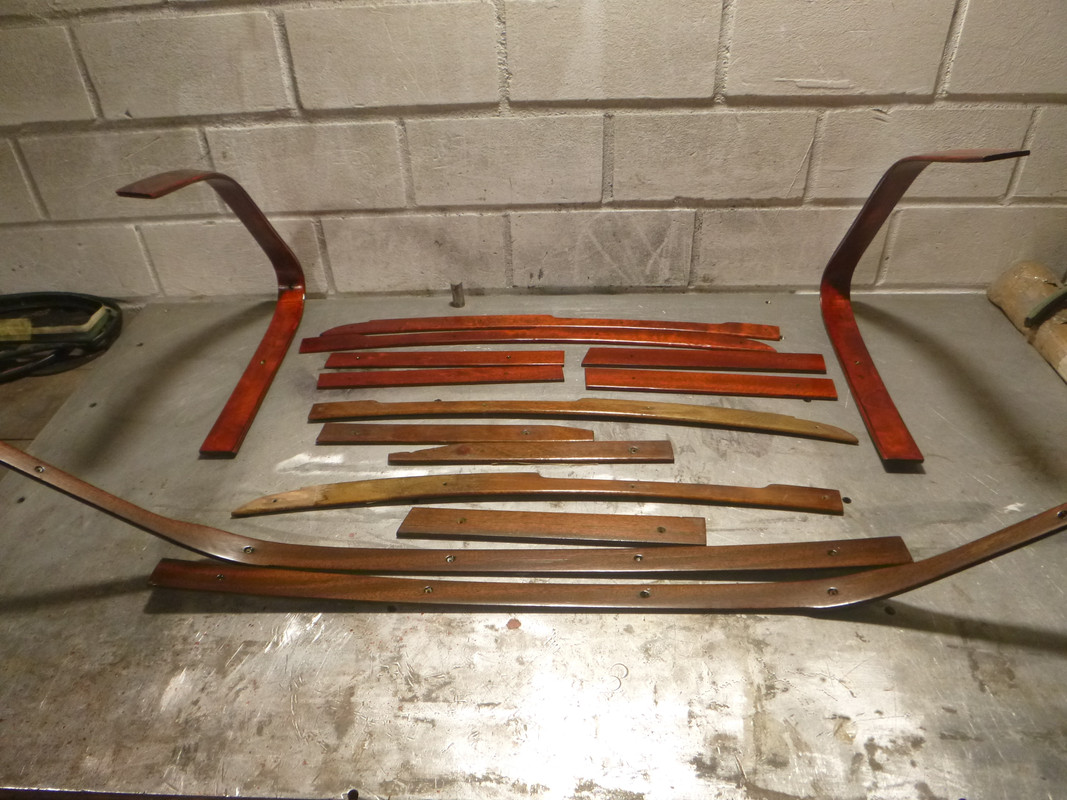
I will repaint them. Some parts are installed.

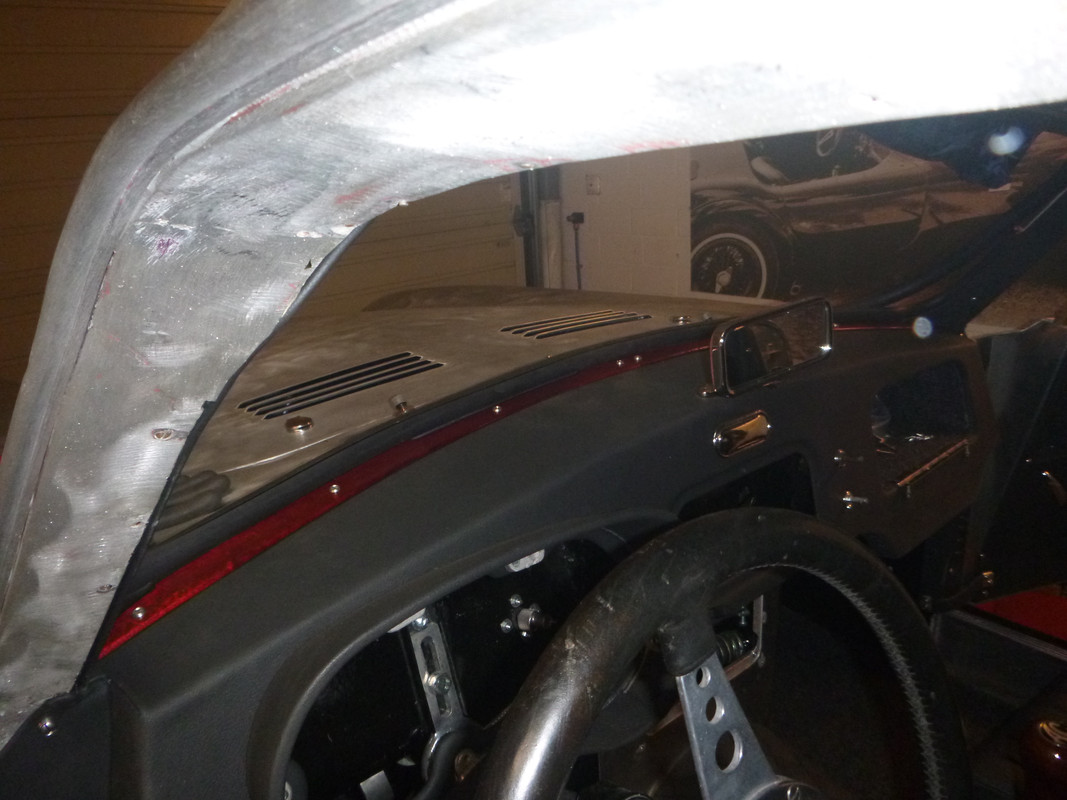
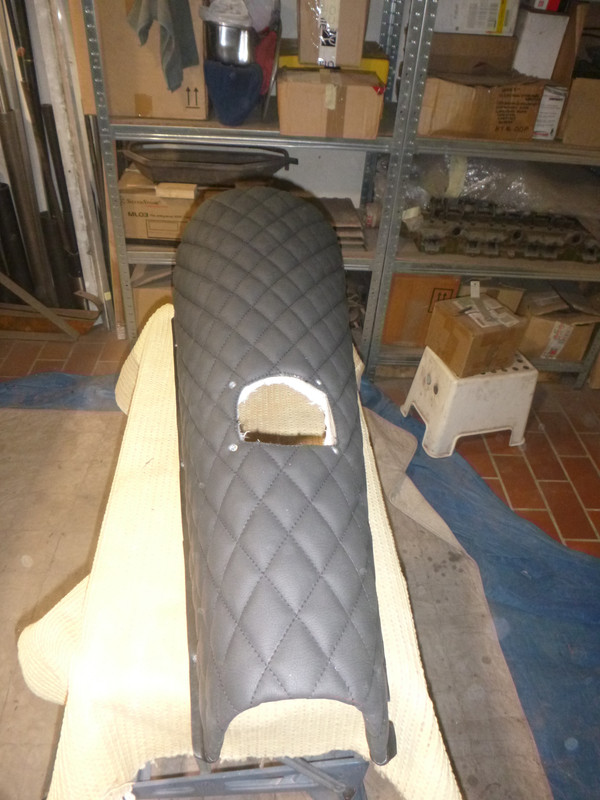
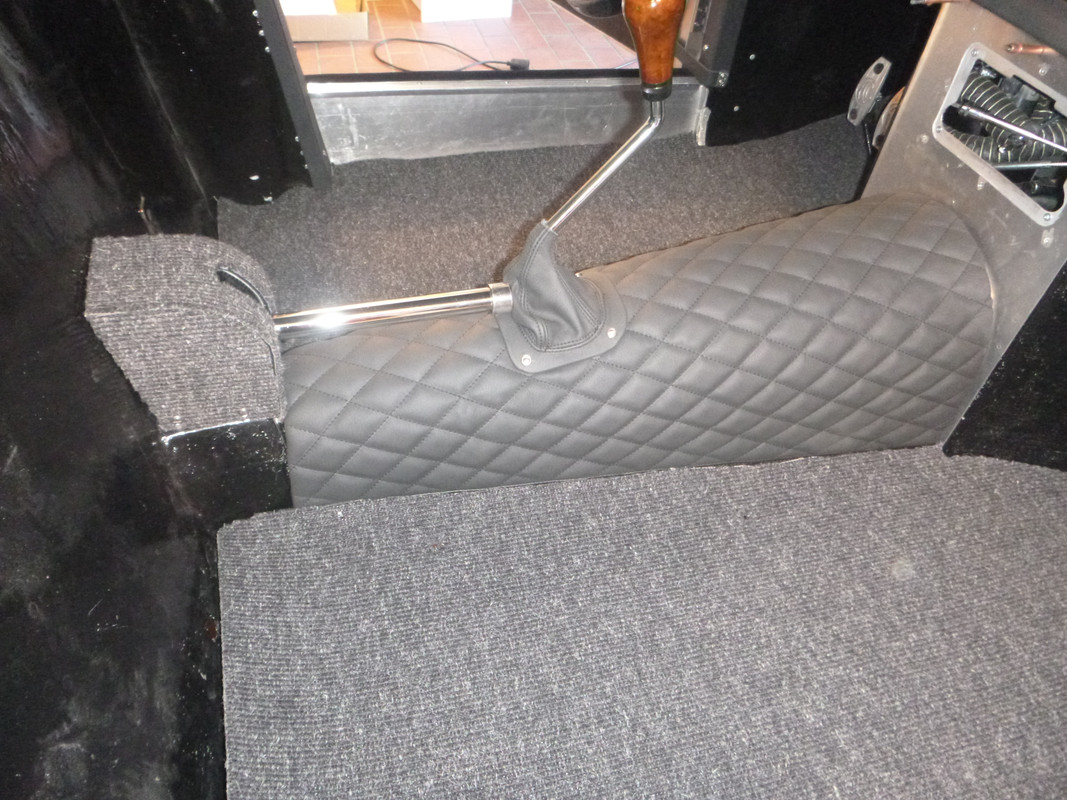
In the meantime my saddler covered the transmission tunnel.
I glued some insulation mat at the inside ...
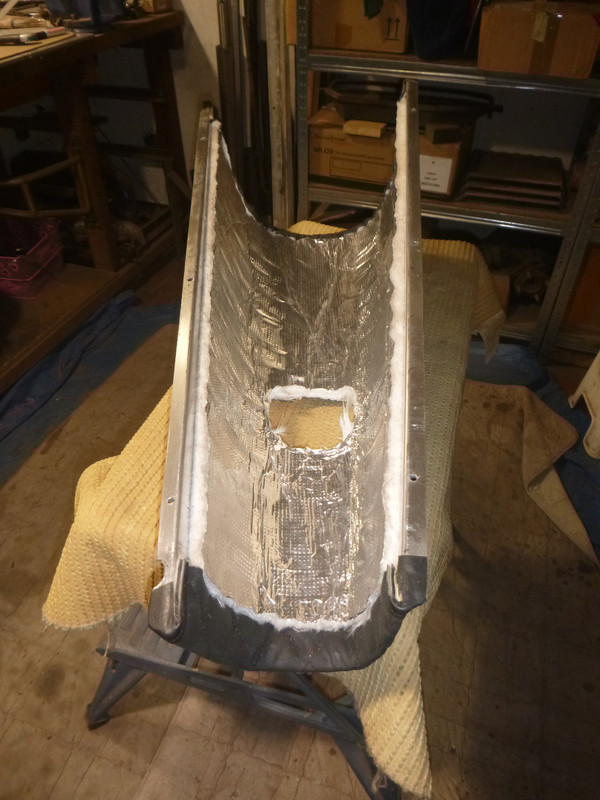
... and installed it.
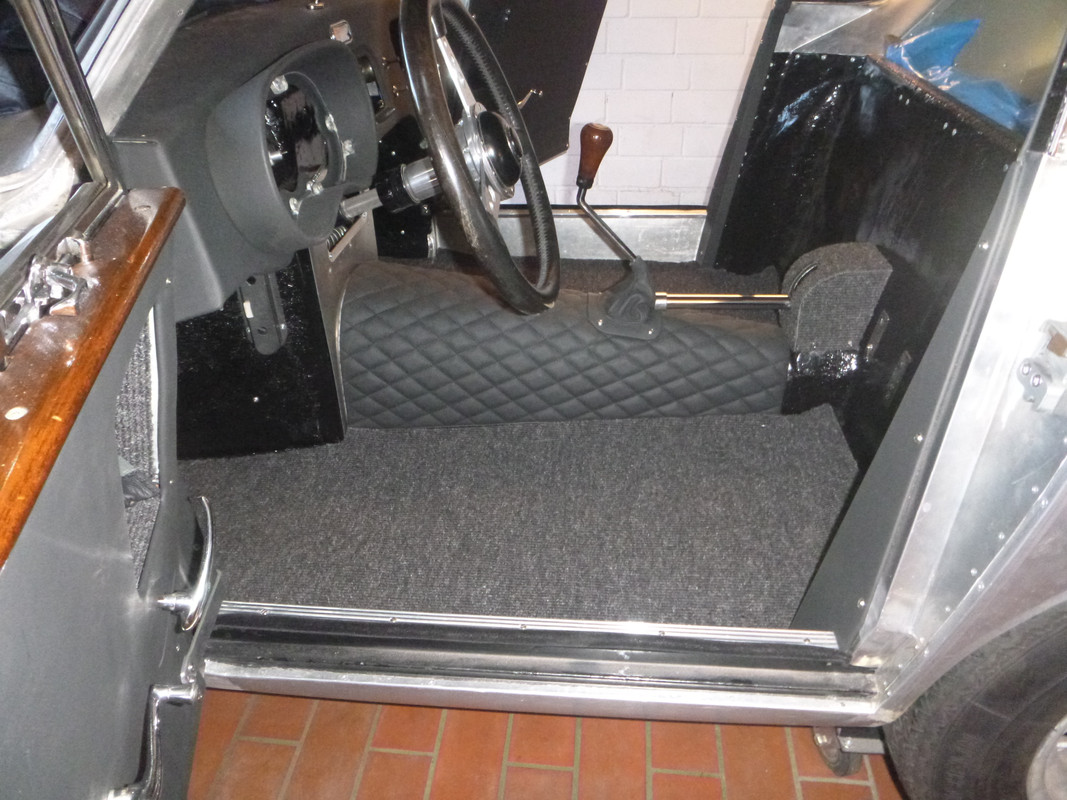
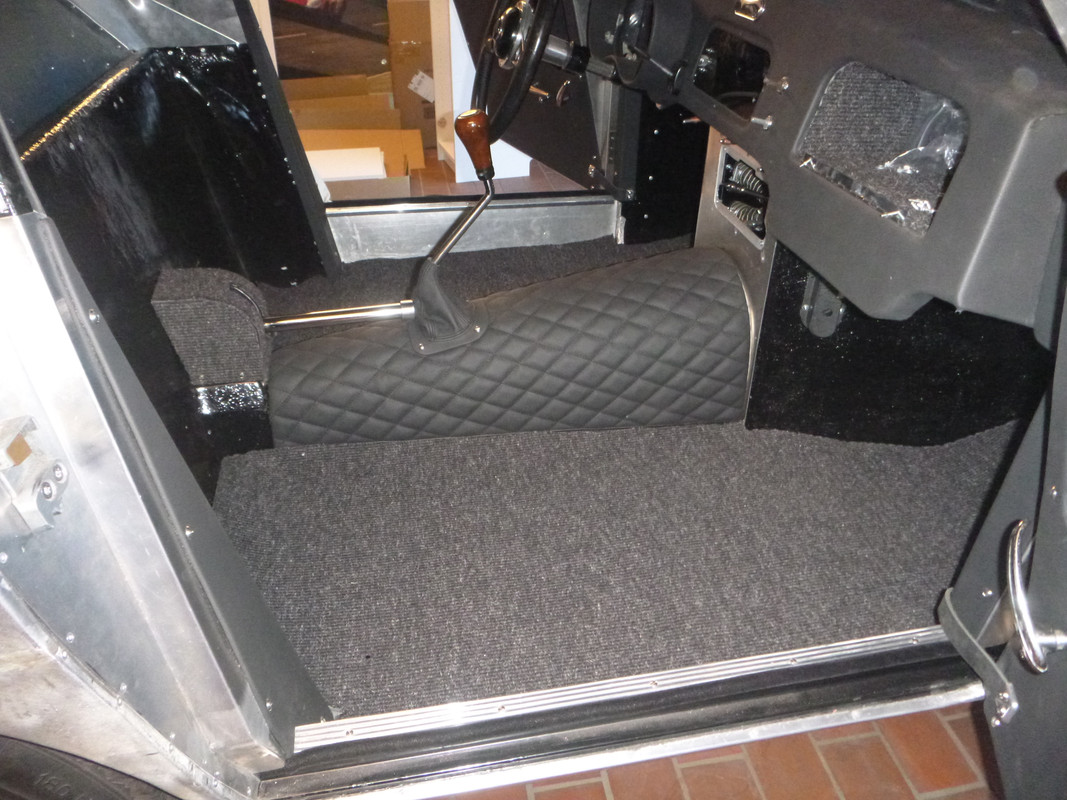
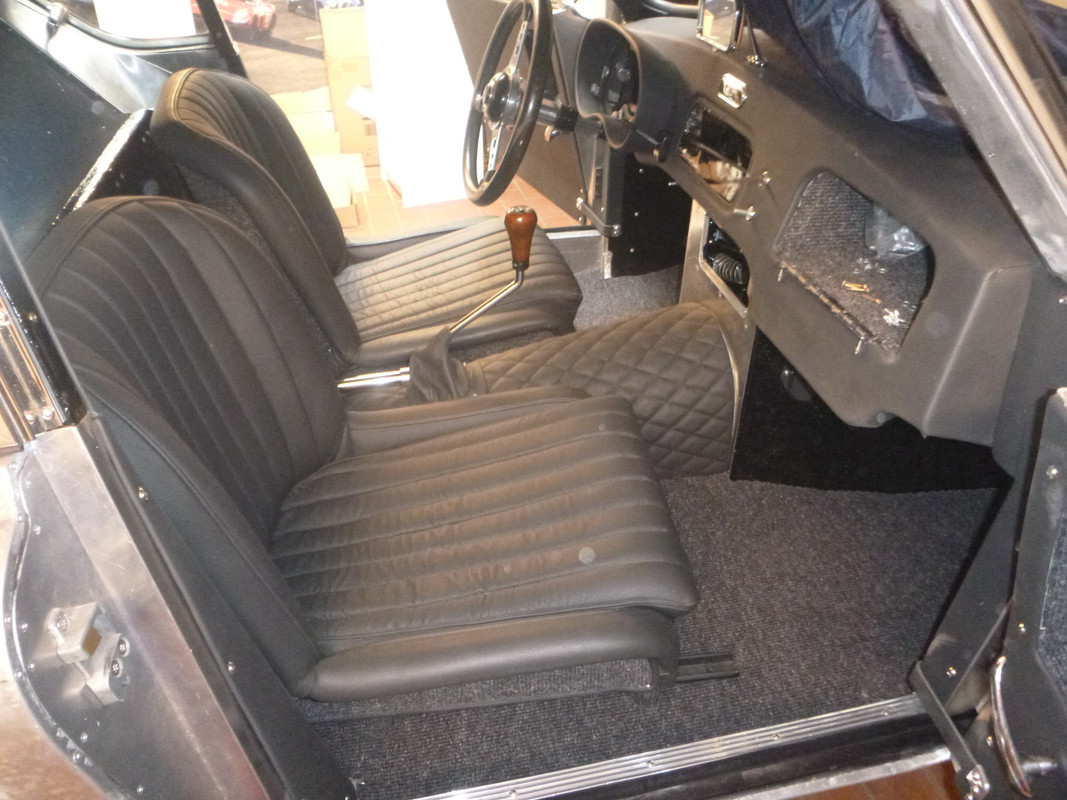
Together with the seats.
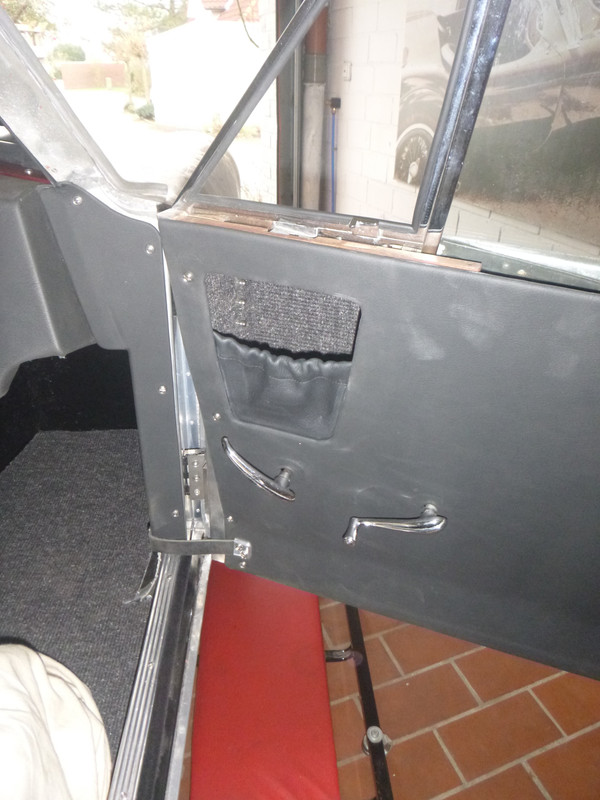
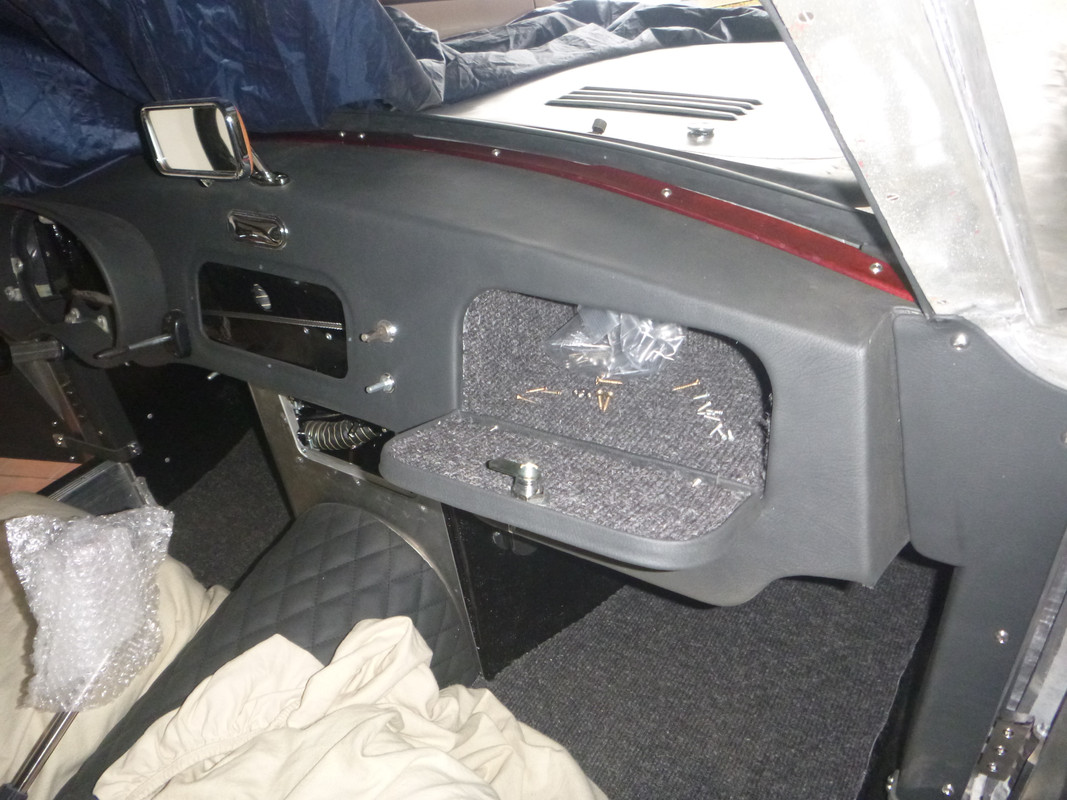
The glove compartments in the doors got their leather barrier.

If you ever wanted to know how to make leather piping. First you have to cut out some long strip of leather
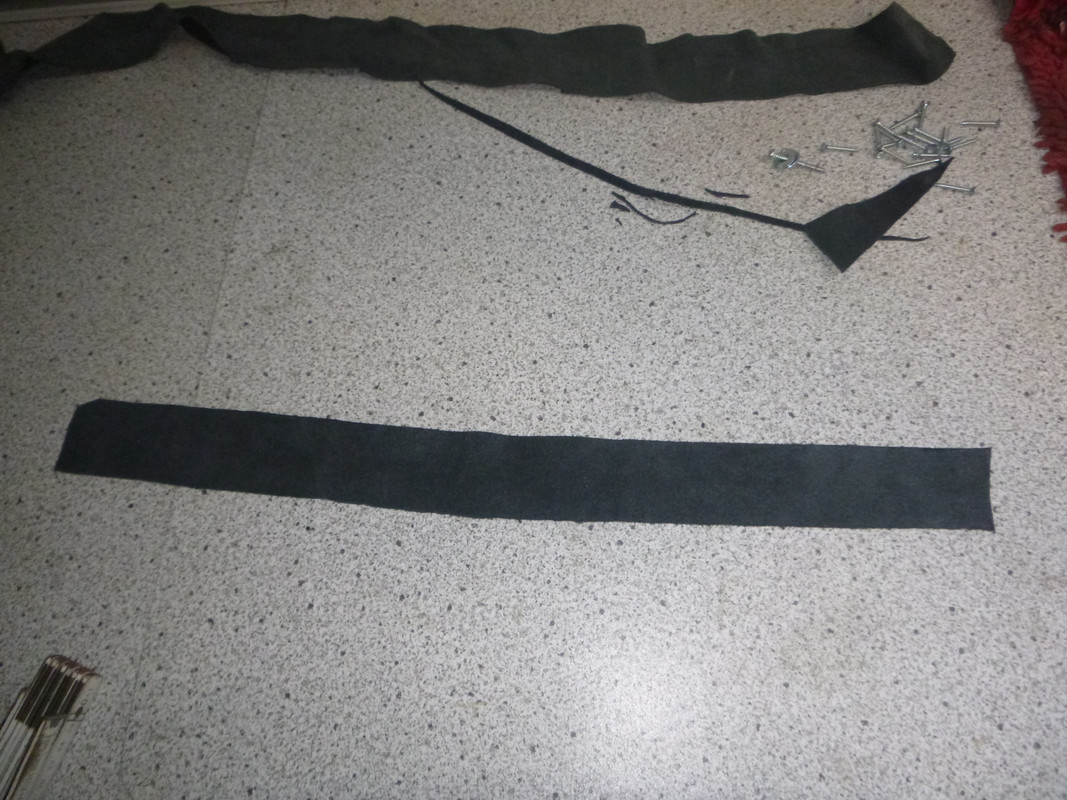
then you have to find a simple man to sharpen out the leather by hand
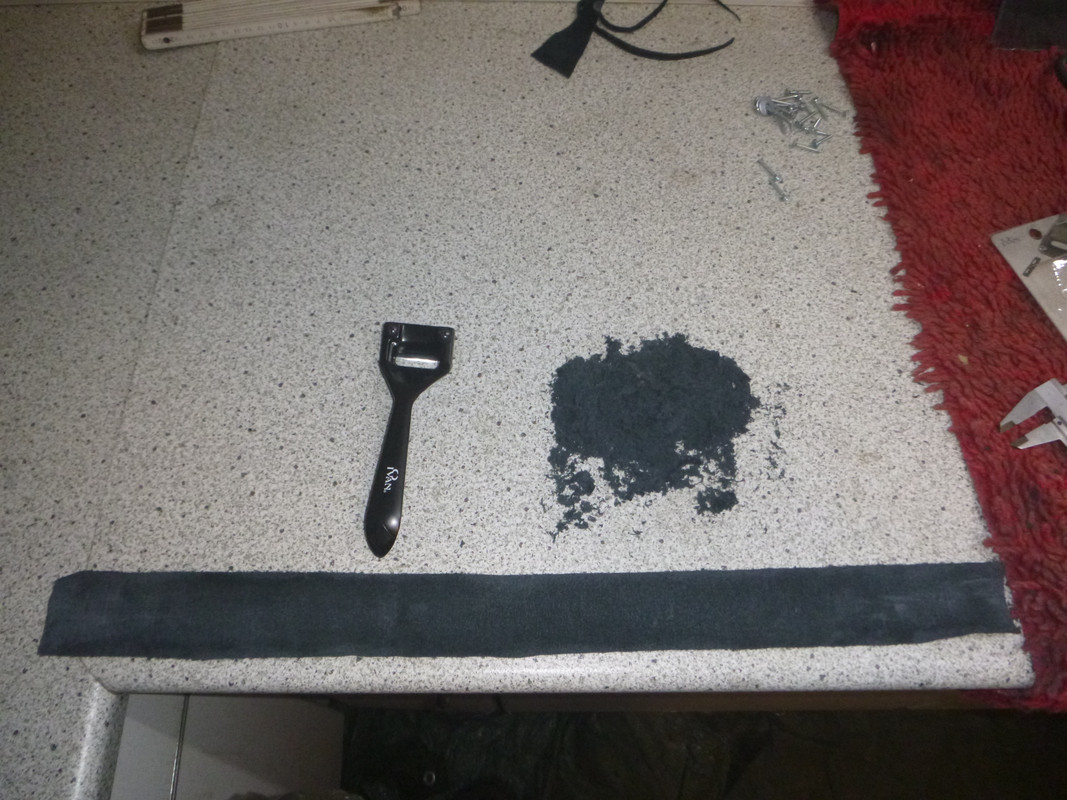
(well, you can also use a machine to do this but that's only half of the fun)
At least you have to glue all together
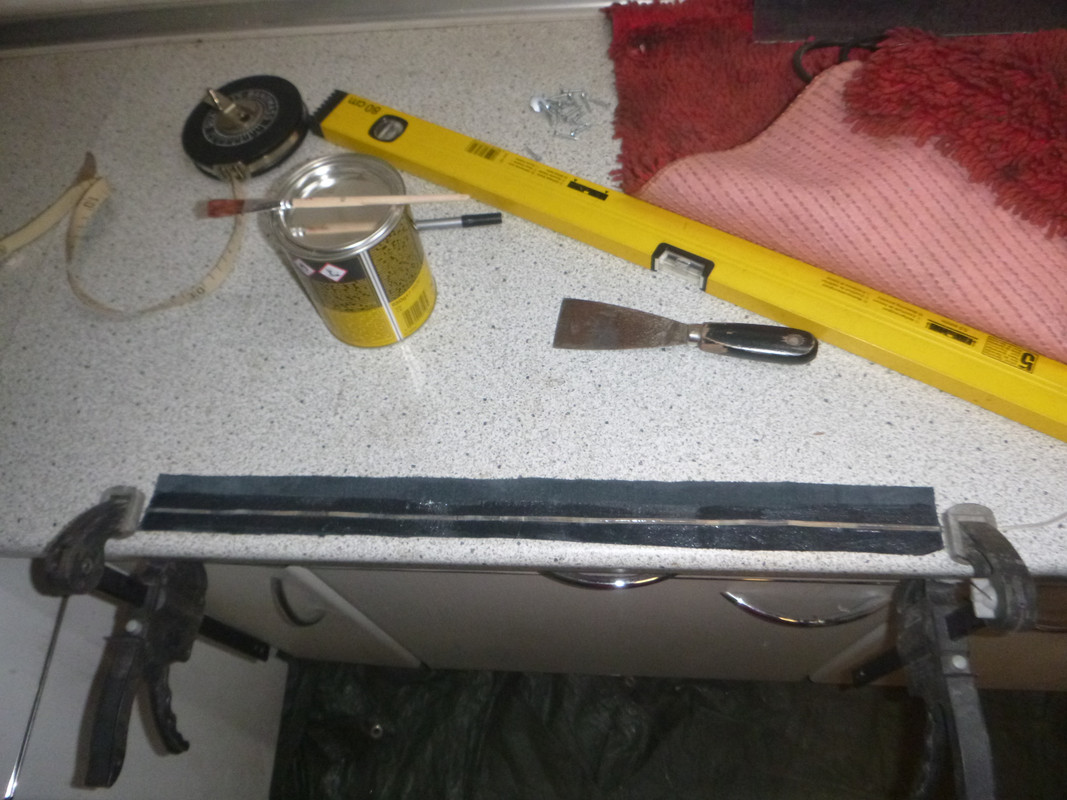
At the end I used my first piping to surround the glove box cover plate


The wood on the dashboard near by the windscreen had a rotten place. I tries to repair this part but I wasn't able to find the right wood stain to fit the old colour.


I had the idea to enforce the wood at the place where the rear side window hinge is screwed by an inlined piece of aluminium.


The new wood parts look good but have a different colour compared to the old pieces.

I will repaint them. Some parts are installed.


In the meantime my saddler covered the transmission tunnel.

I glued some insulation mat at the inside ...

... and installed it.


Together with the seats.

The glove compartments in the doors got their leather barrier.


If you ever wanted to know how to make leather piping. First you have to cut out some long strip of leather

then you have to find a simple man to sharpen out the leather by hand

(well, you can also use a machine to do this but that's only half of the fun)
At least you have to glue all together

At the end I used my first piping to surround the glove box cover plate


#6
Ace, Aceca & Greyhound Forum / Re: BE 646
February 21, 2024, 18:55:56
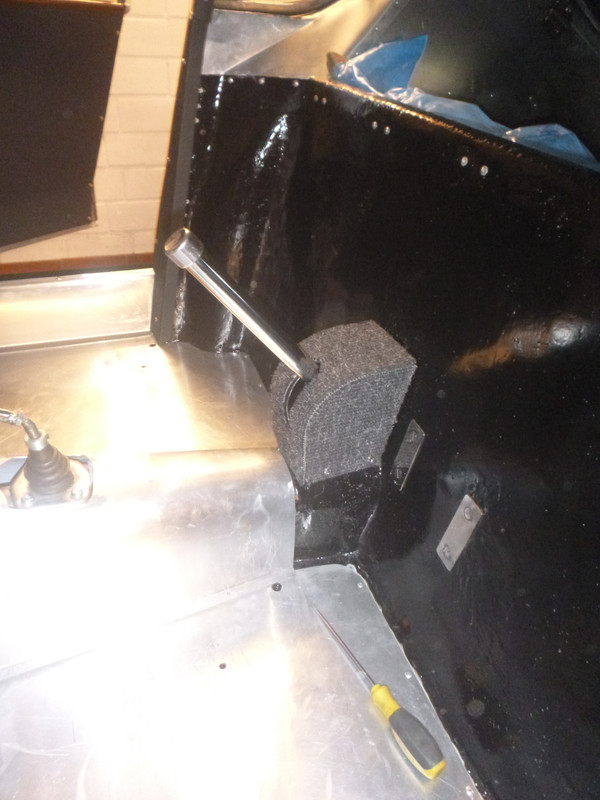
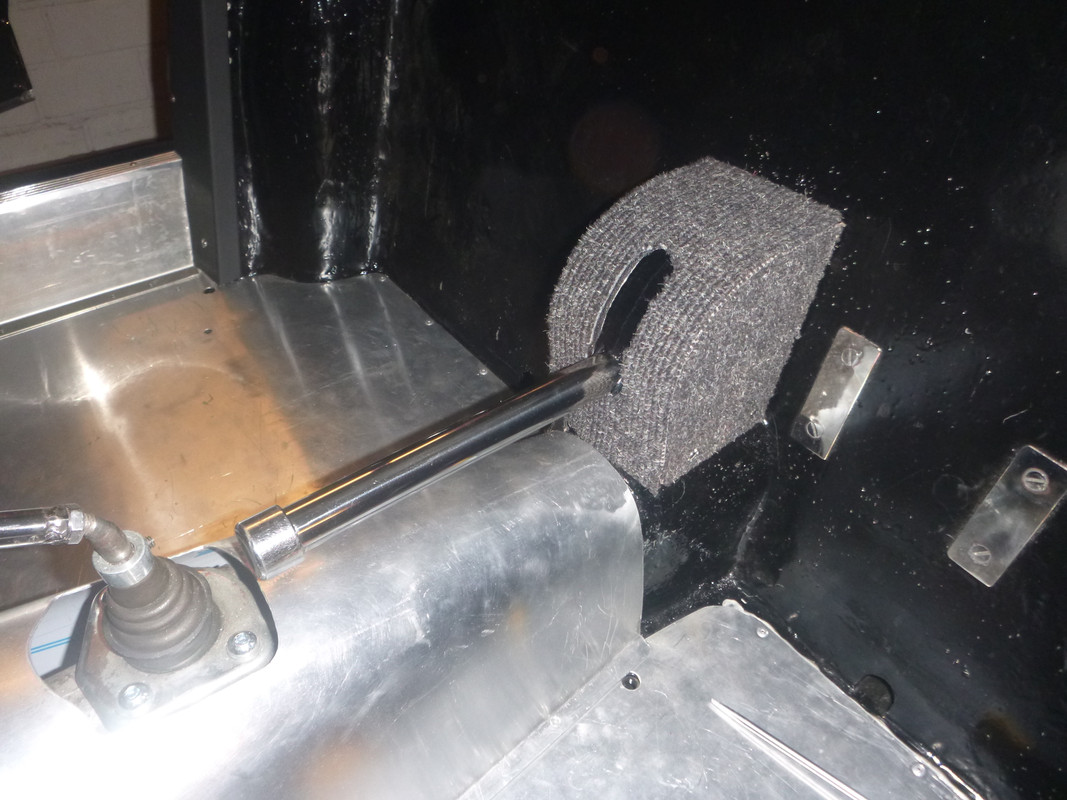
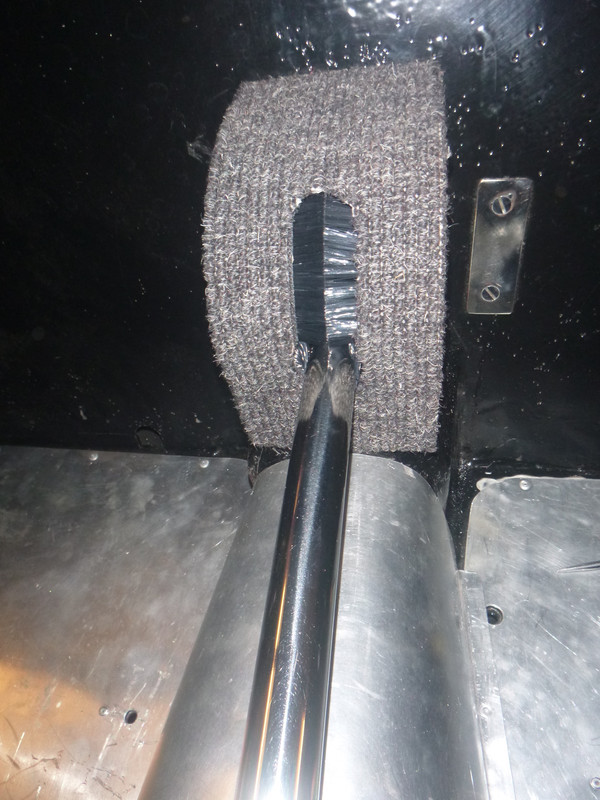
Currently, AC Ace AE220 is offered for sale (https://www.carandclassic.com/l/C1687811). It has a nice solution for the handbrake lever cover. It is made in alumnium:

I would like to have something similar in my Aceca.

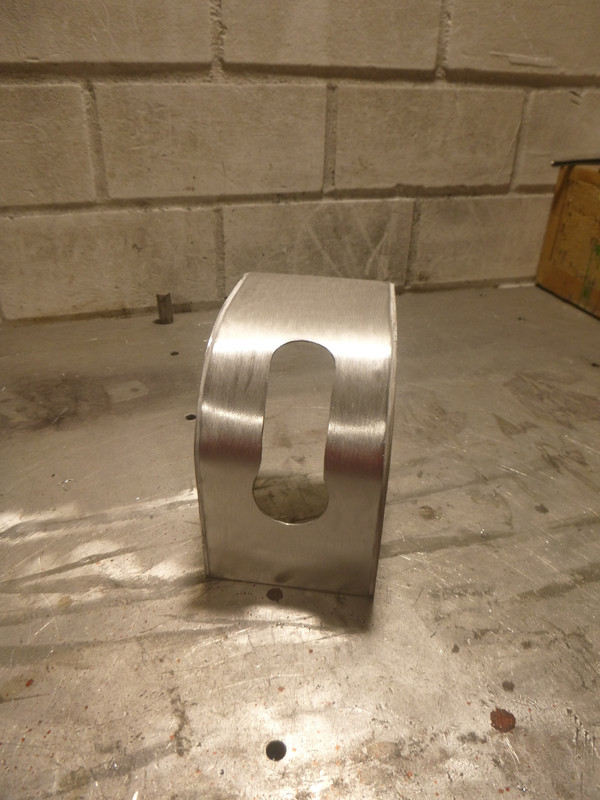
The slot should be closed by a brush.
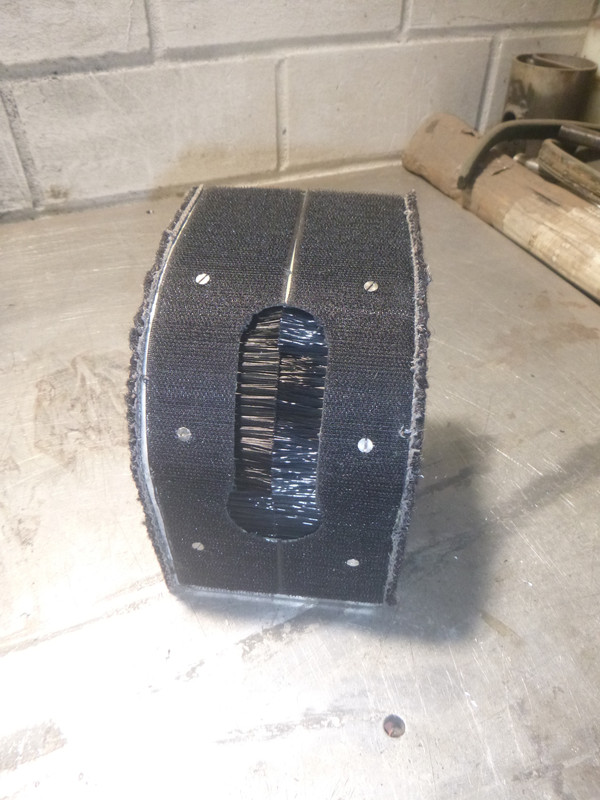
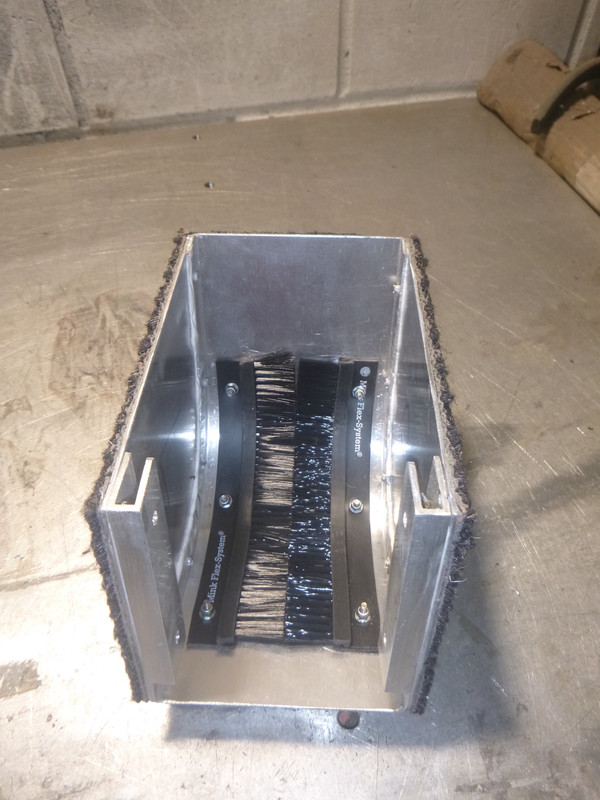
Now, all sides covering with carpet.
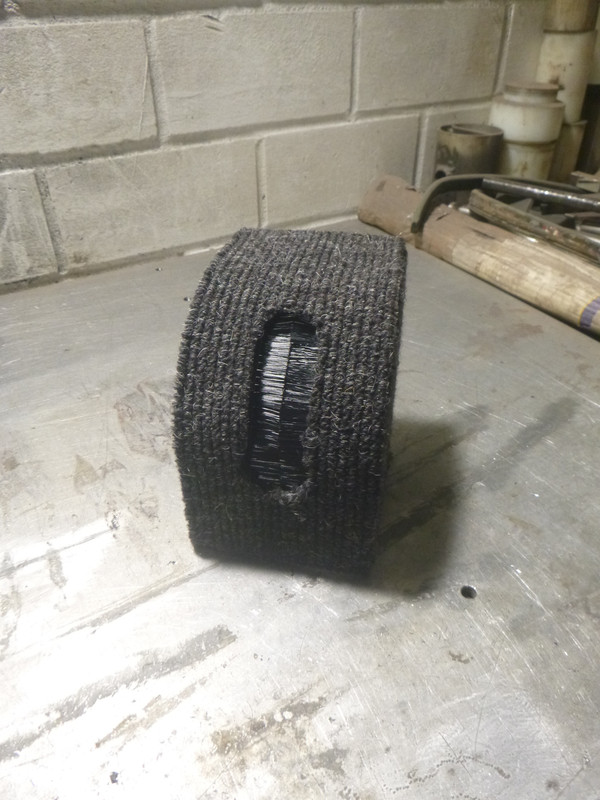
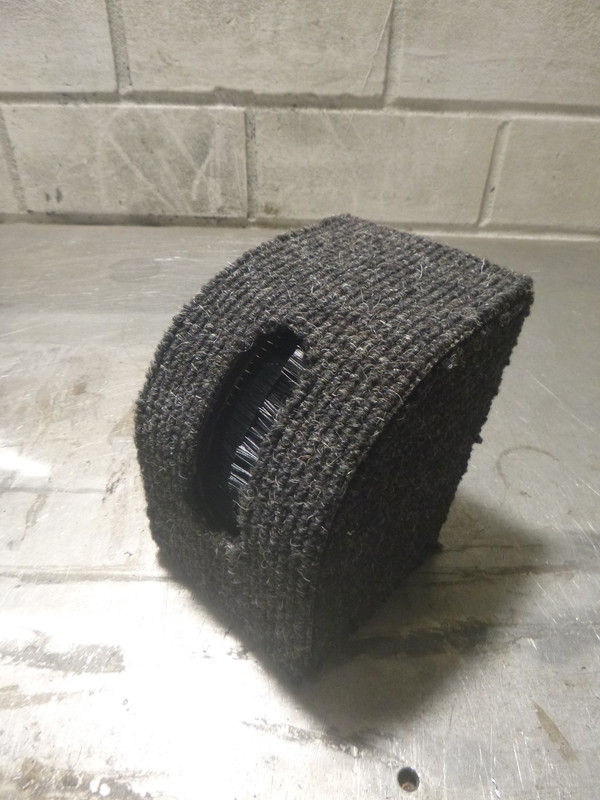
Installed, it looks a little bit like a turret on a war ship.

I would like to have something similar in my Aceca.


The slot should be closed by a brush.


Now, all sides covering with carpet.


Installed, it looks a little bit like a turret on a war ship.


#7
Ace, Aceca & Greyhound Forum / Re: BE 646
February 07, 2024, 07:05:08
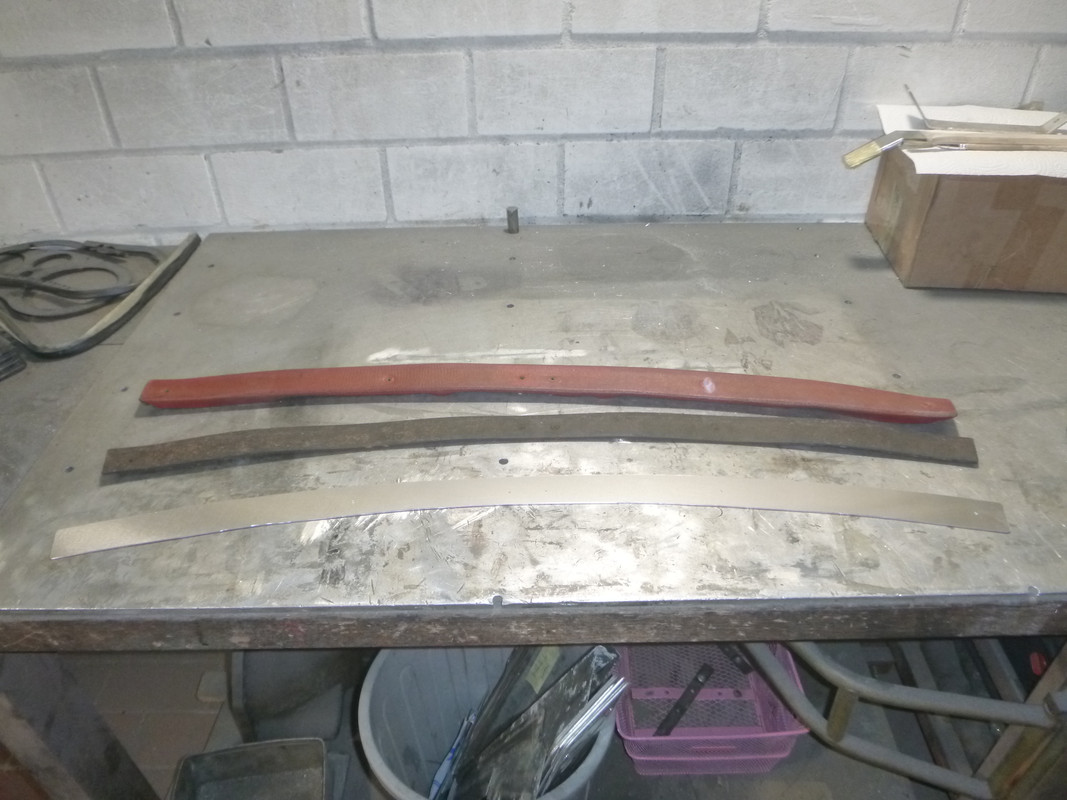
The original leather cover above the windscreen:

It's dead but original
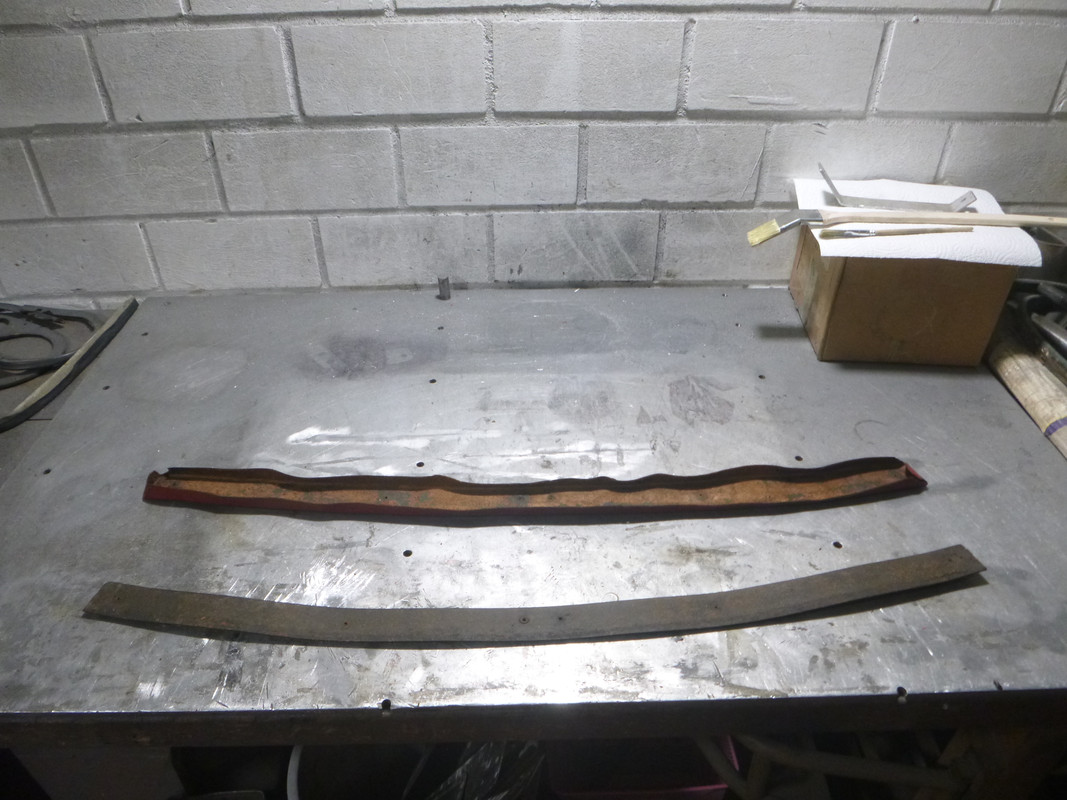
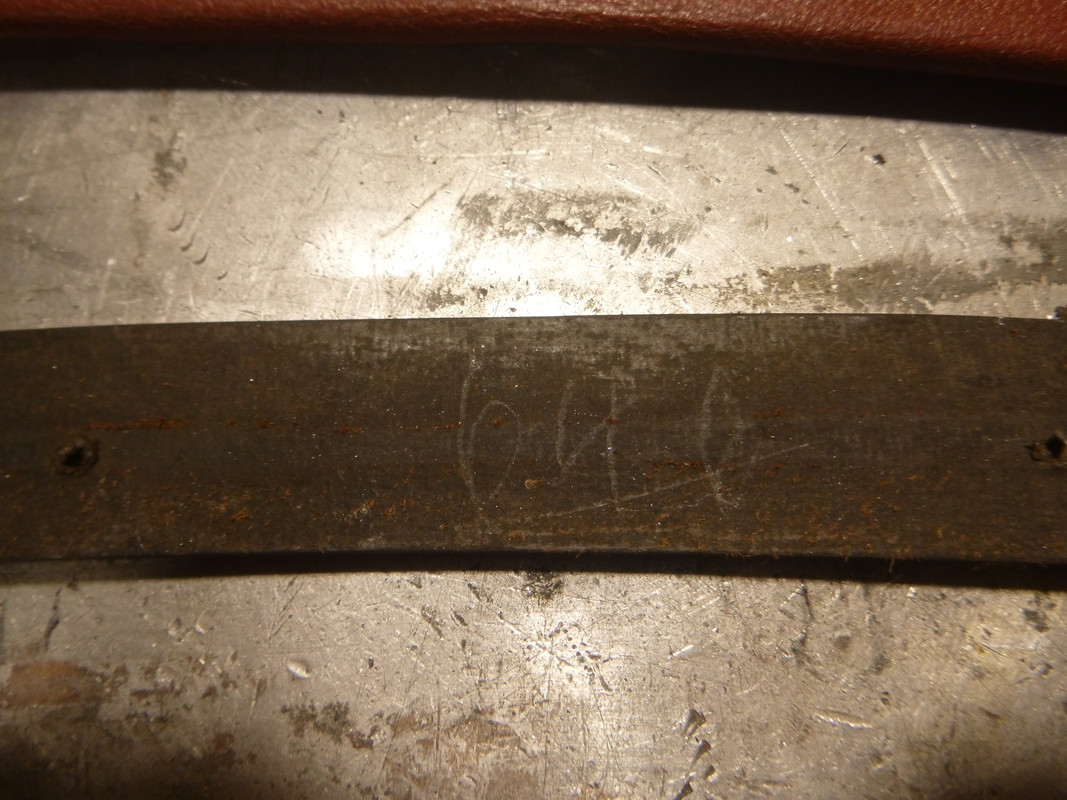
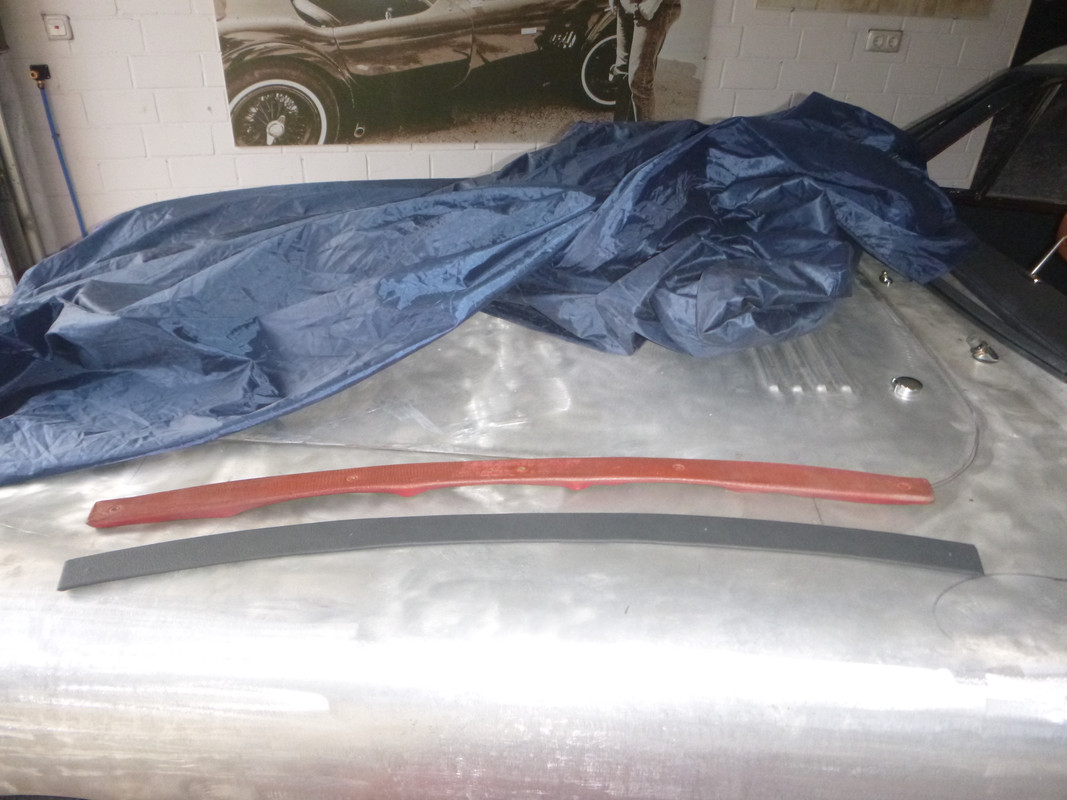
The new one has an aluminium kernel
Finished and installed
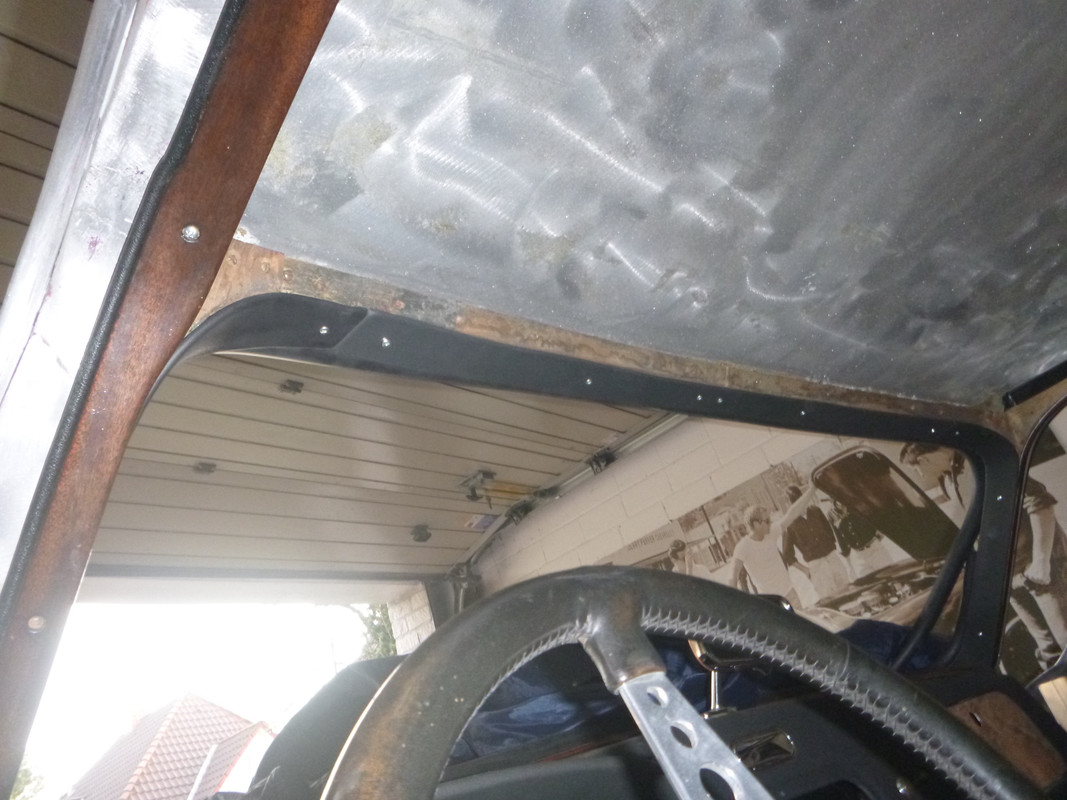
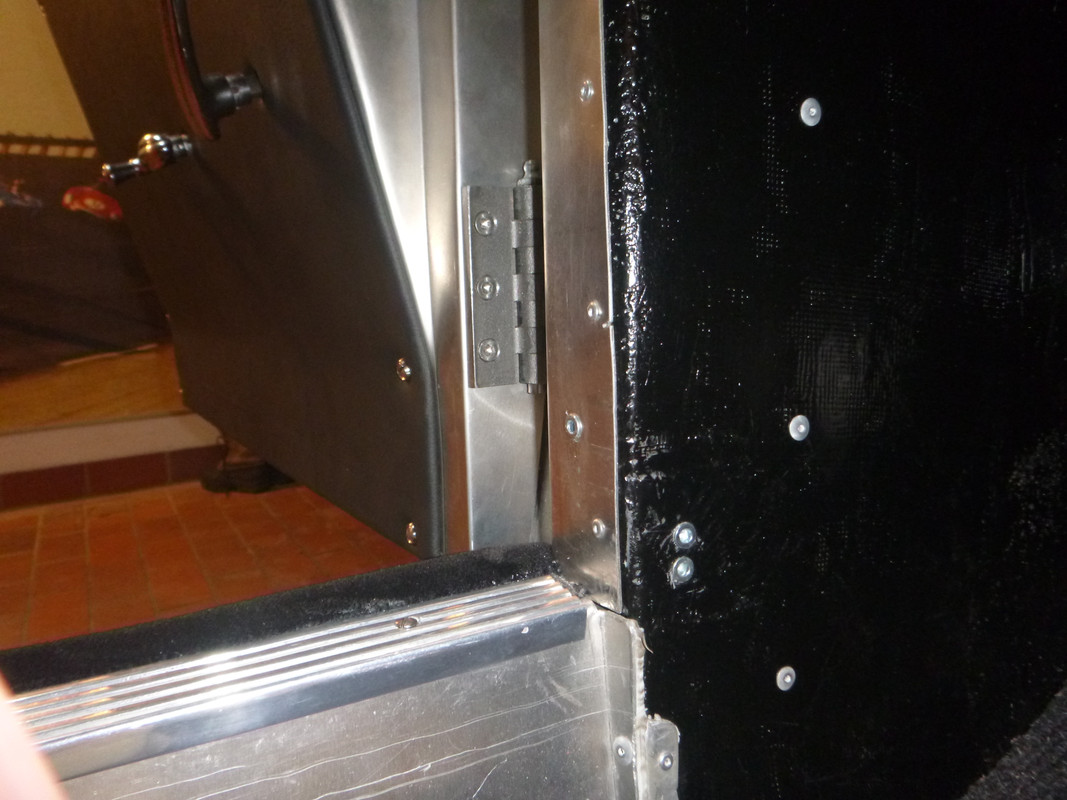
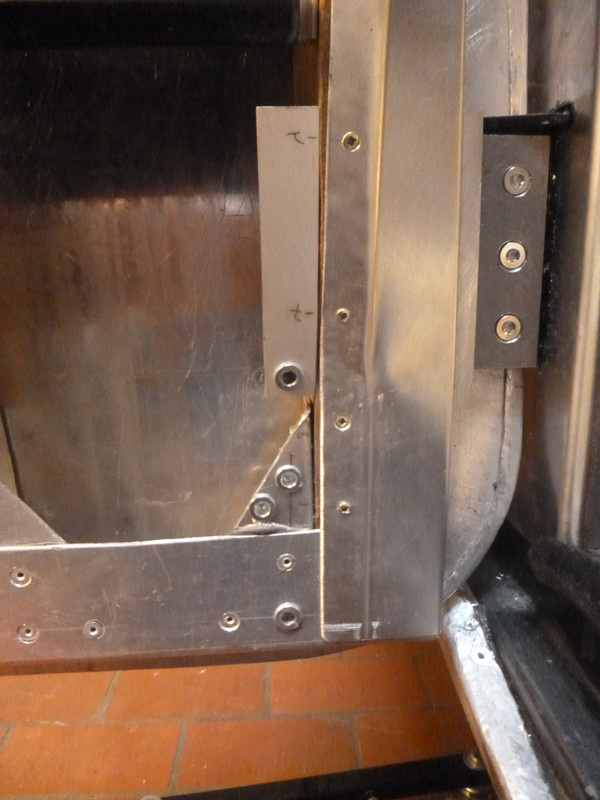
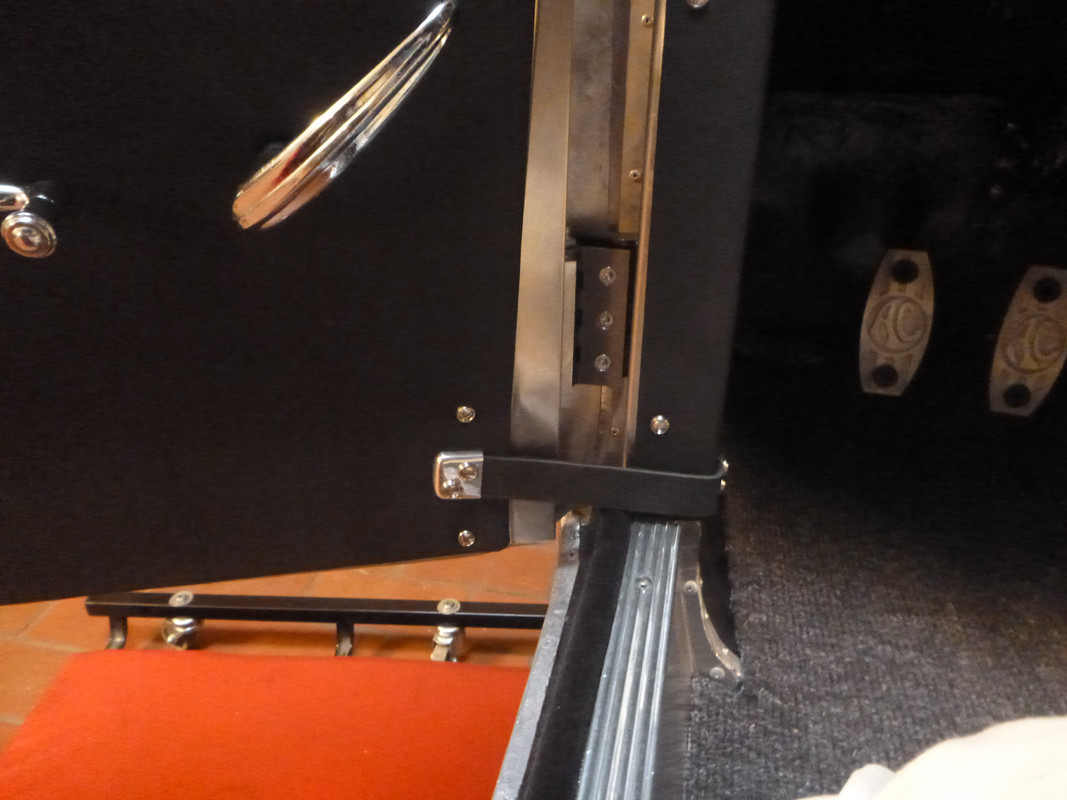
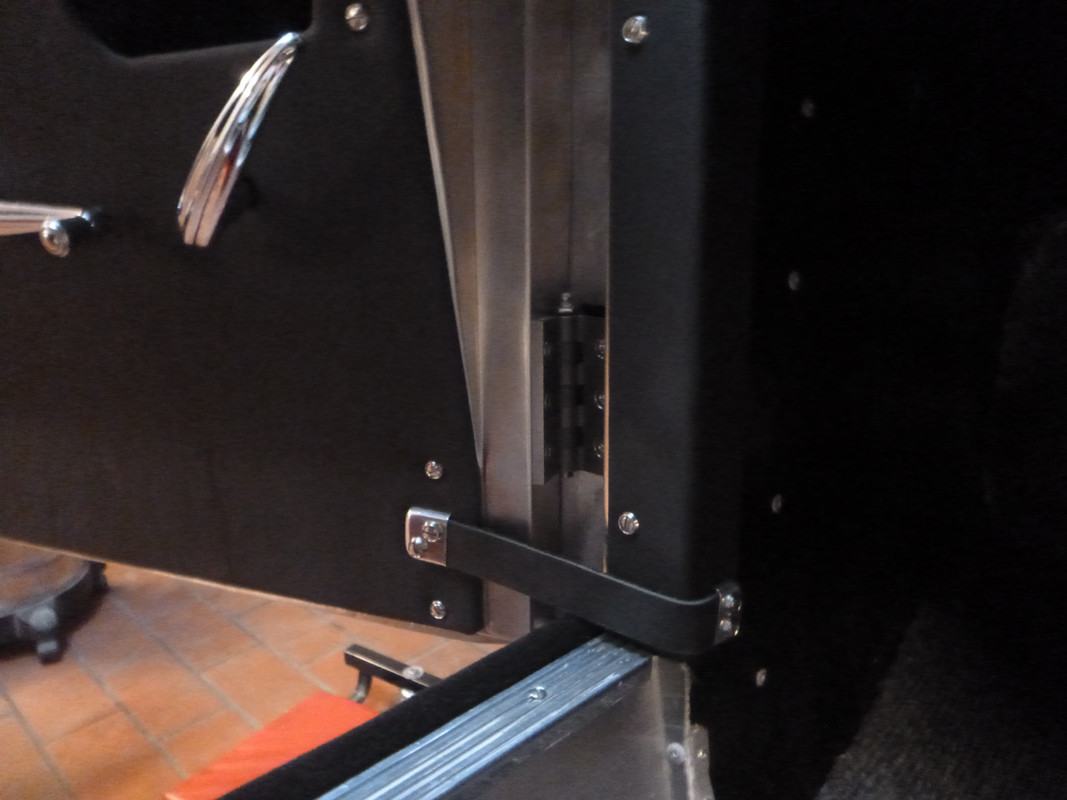
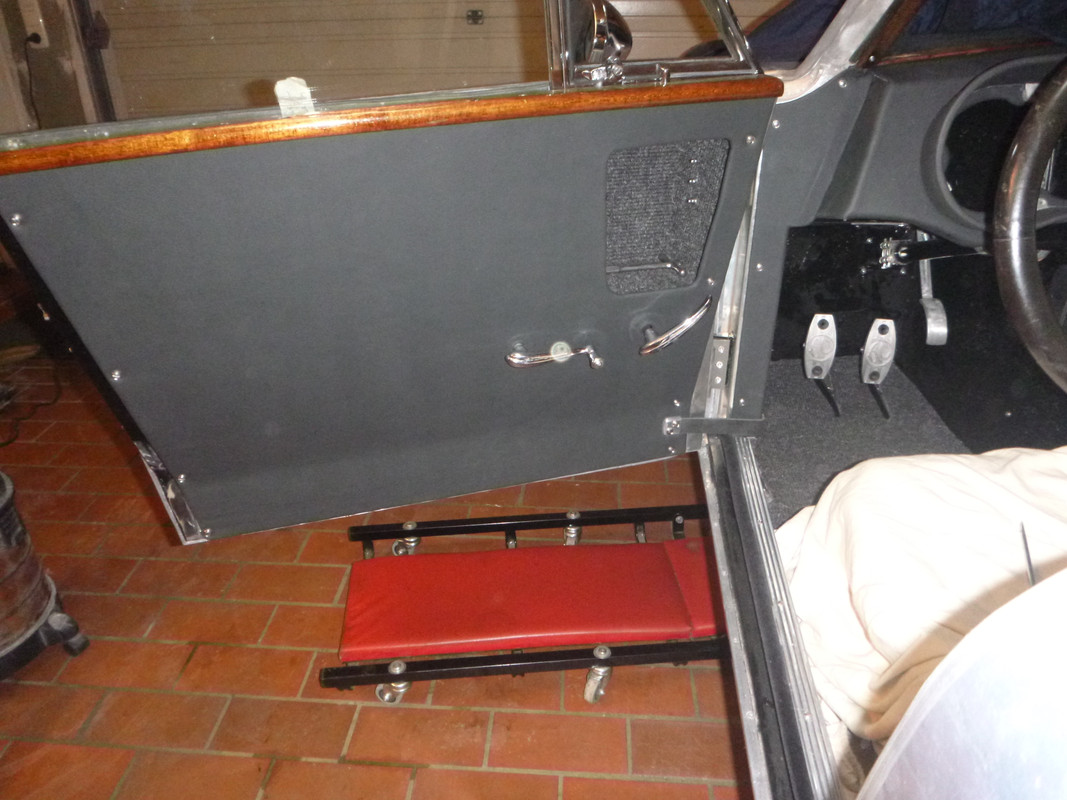
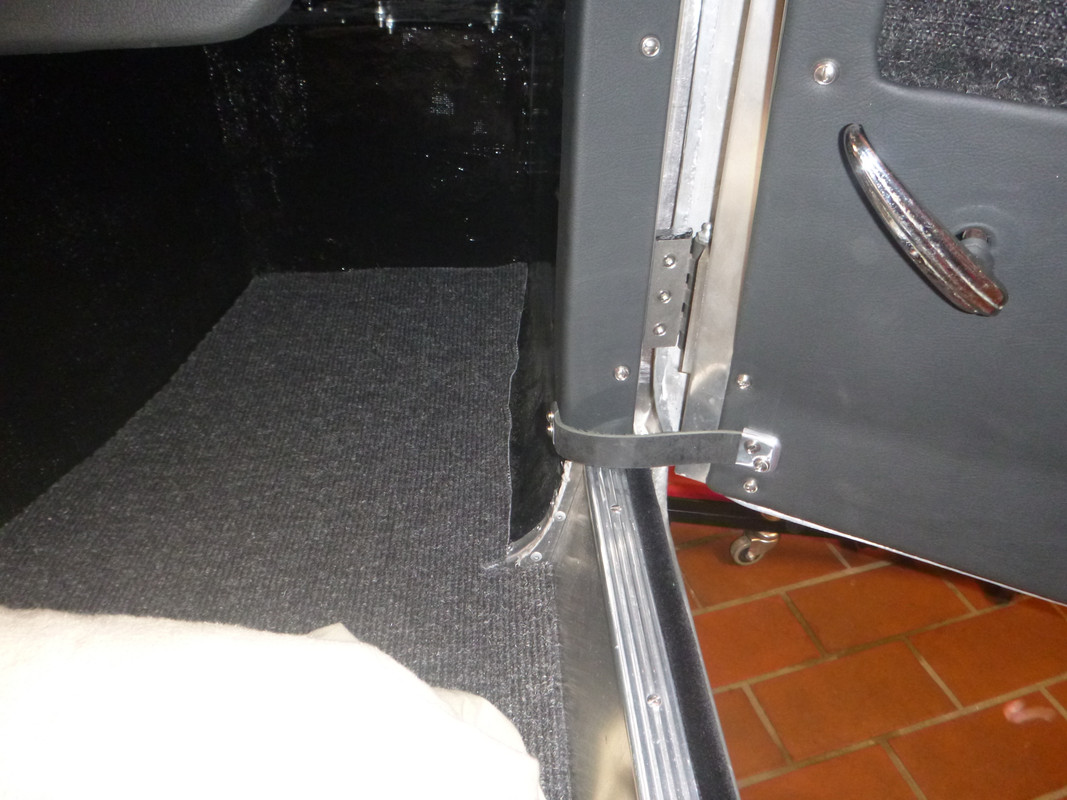
Installing the door catch strap. Looks easy but took a lot of time to find the right position for the screws. You only have one shot ...
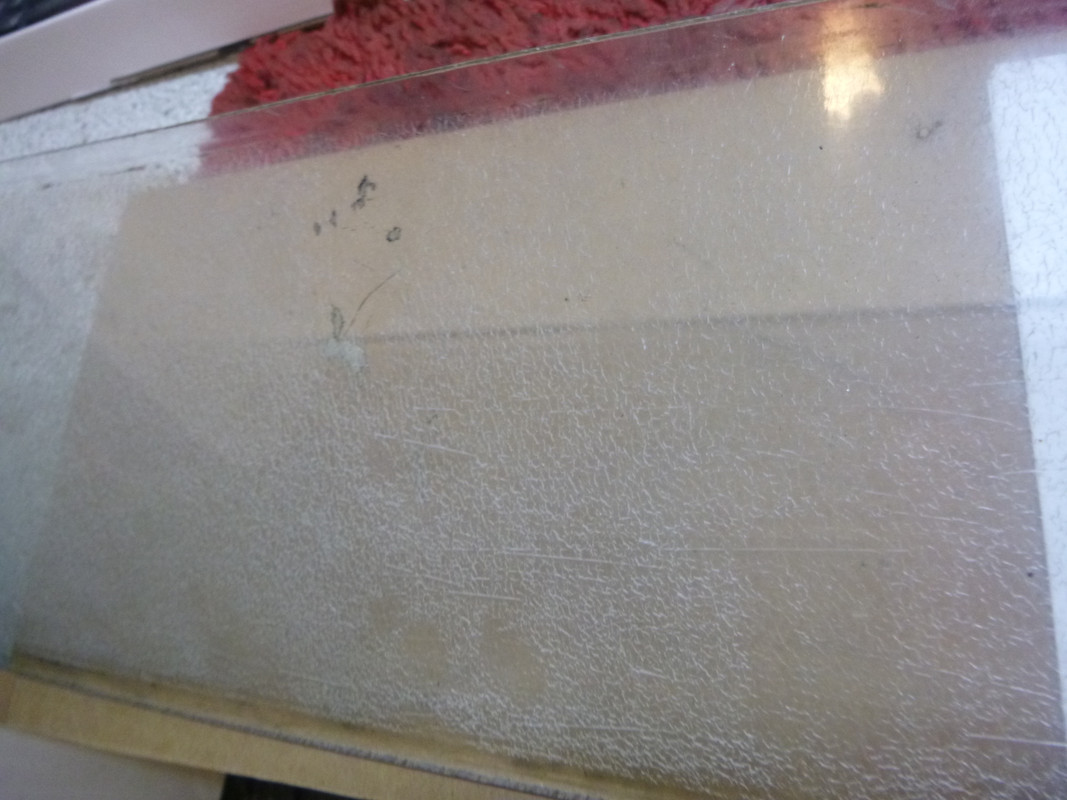
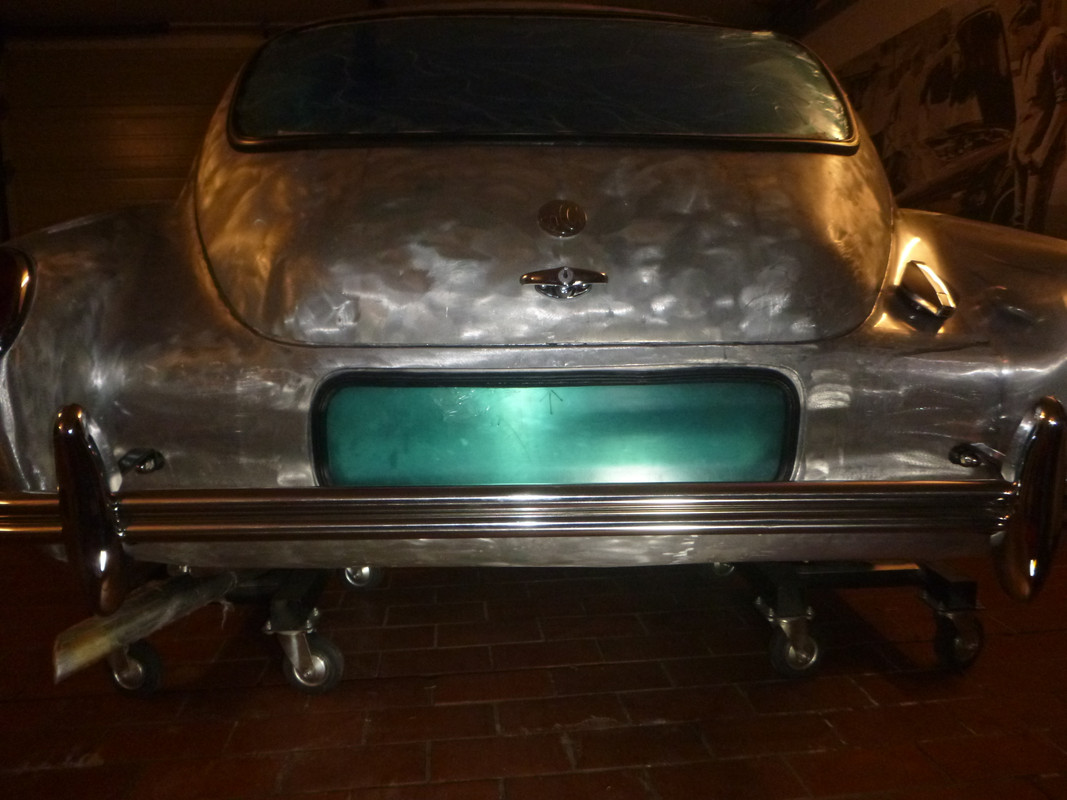
The old acryl glass cover of the rear number plate must be replaced

It's dead but original


The new one has an aluminium kernel

Finished and installed


Installing the door catch strap. Looks easy but took a lot of time to find the right position for the screws. You only have one shot ...


The old acryl glass cover of the rear number plate must be replaced


#8
Ace, Aceca & Greyhound Forum / Re: BE 646
January 25, 2024, 18:21:23 #9
Vintage, PVT & 2 Litre Forum / Re: At auction
January 20, 2024, 14:20:35Quote from: Old Crock on January 20, 2024, 09:34:35But this one is marked as "SOLD".
Or, maybe easier to buy this one at 17,000 Euros!
https://www.prewarcar.com/455004-1937-ac-ace-16-66-foursome-drop-head-coupe
#10
Ace, Aceca & Greyhound Forum / Re: BE 646
January 18, 2024, 06:53:50
Hi Edmondo,
I can confirm that different cars had different pipes. In my car A, B and C the 14 mm Furflex was installed. The E and F section had the 6 mm pipe I showed but I plan also to use the 14 mm Furlex there. If the doors cannot be closed after that I hope I can fix it by mounting the Furflex with a little play at the wood surrounding so it can be pushed inside when the door closes. I will check this in the next weeks. First I have to paint the wood with clear coat.
Regards,
Peter
#11
Ace, Aceca & Greyhound Forum / Re: BE 646
January 16, 2024, 17:17:47 #12
Ace, Aceca & Greyhound Forum / Re: BE 646
January 12, 2024, 07:48:21
New TOC and index. Thank you, David.
#13
Ace, Aceca & Greyhound Forum / Re: BE 646
December 28, 2023, 16:56:06
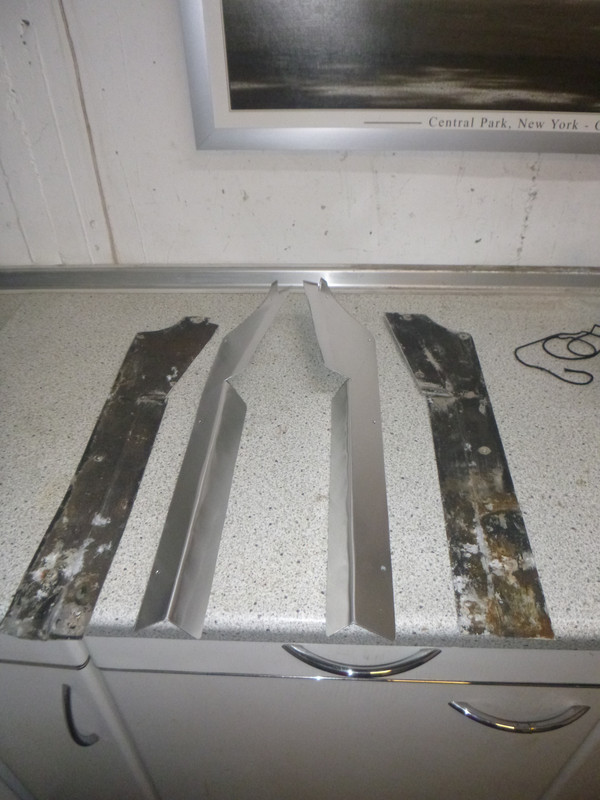
No, wait. One further update these year. I made new leather covered panels for the A- and B-pillars. As usual the old panels were rotten.
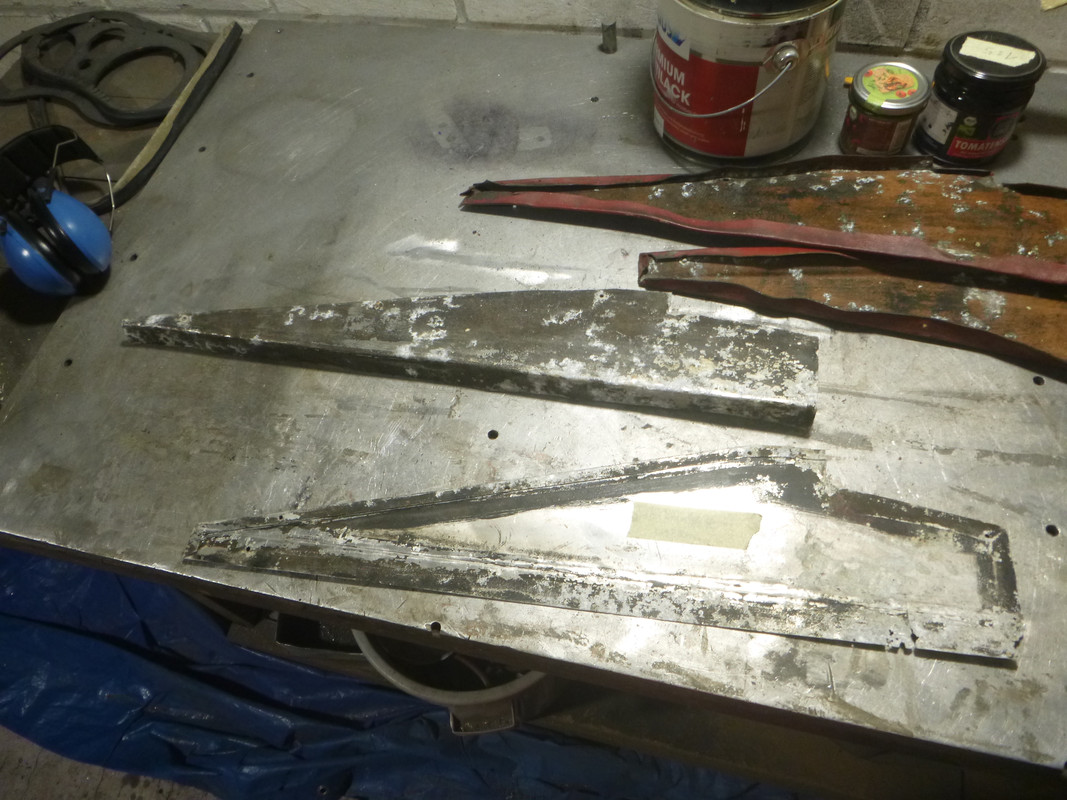
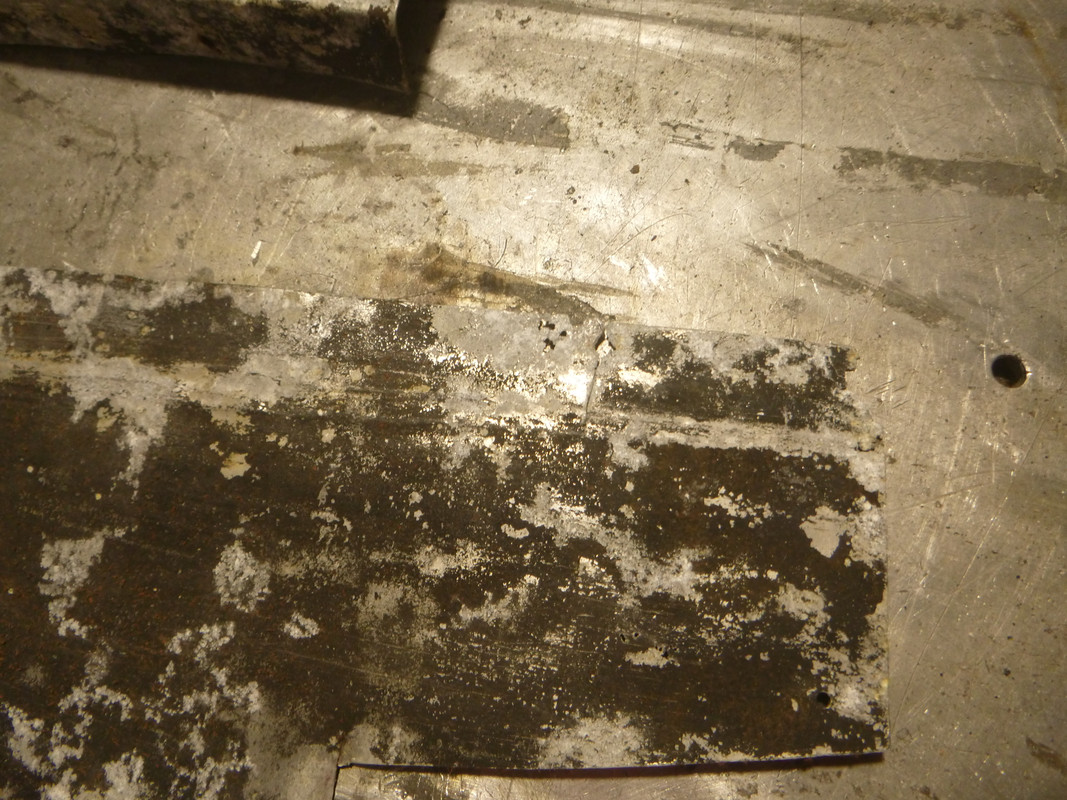
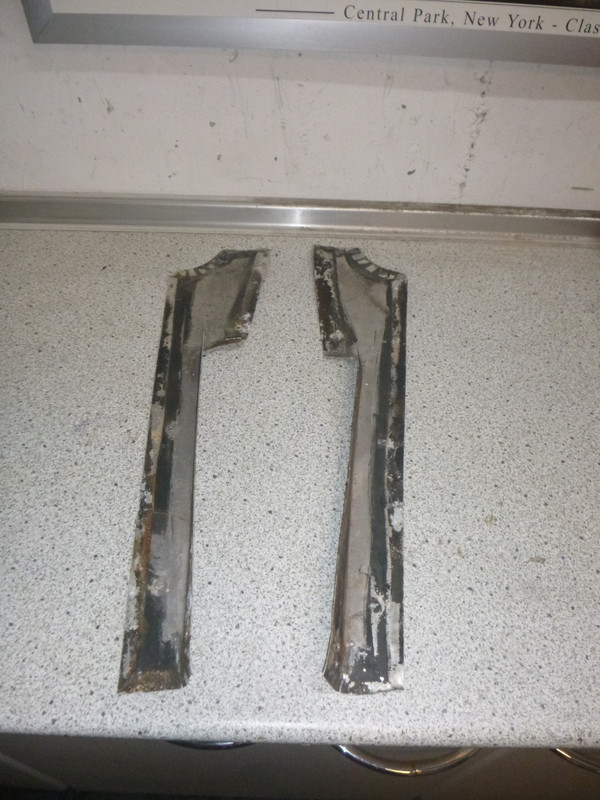
The panel for the B-pillar has a folded outer edge for enforcement. After two tries I think I got it.
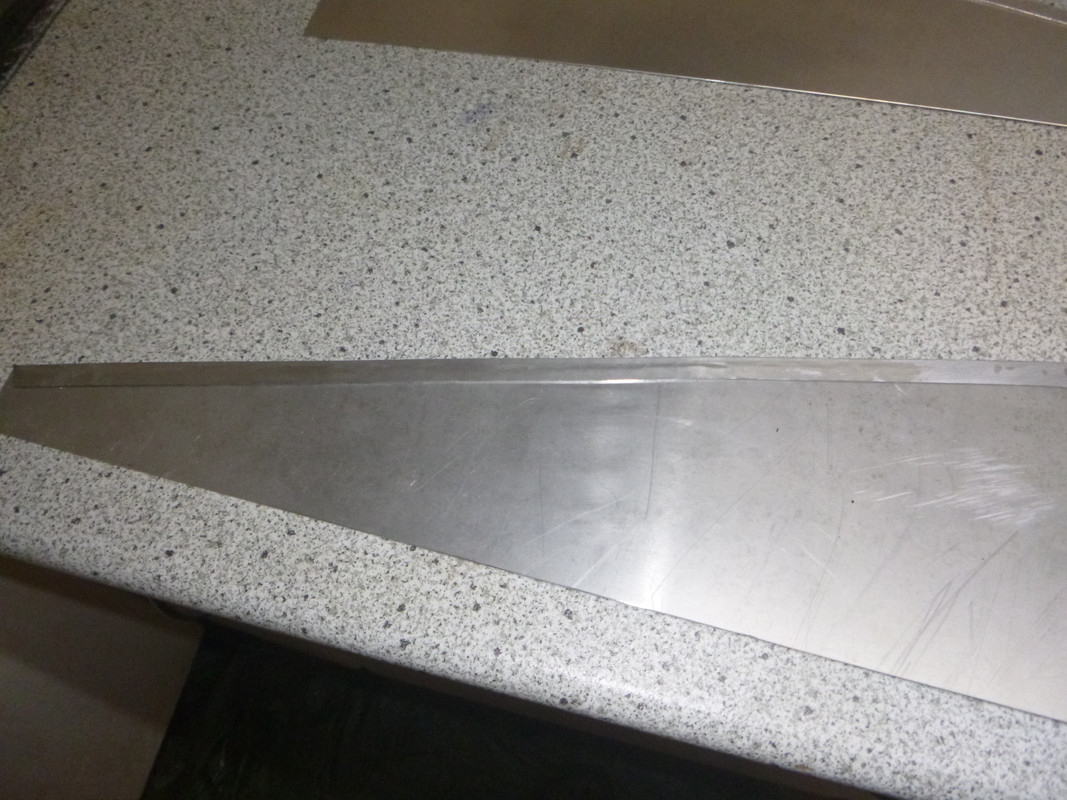
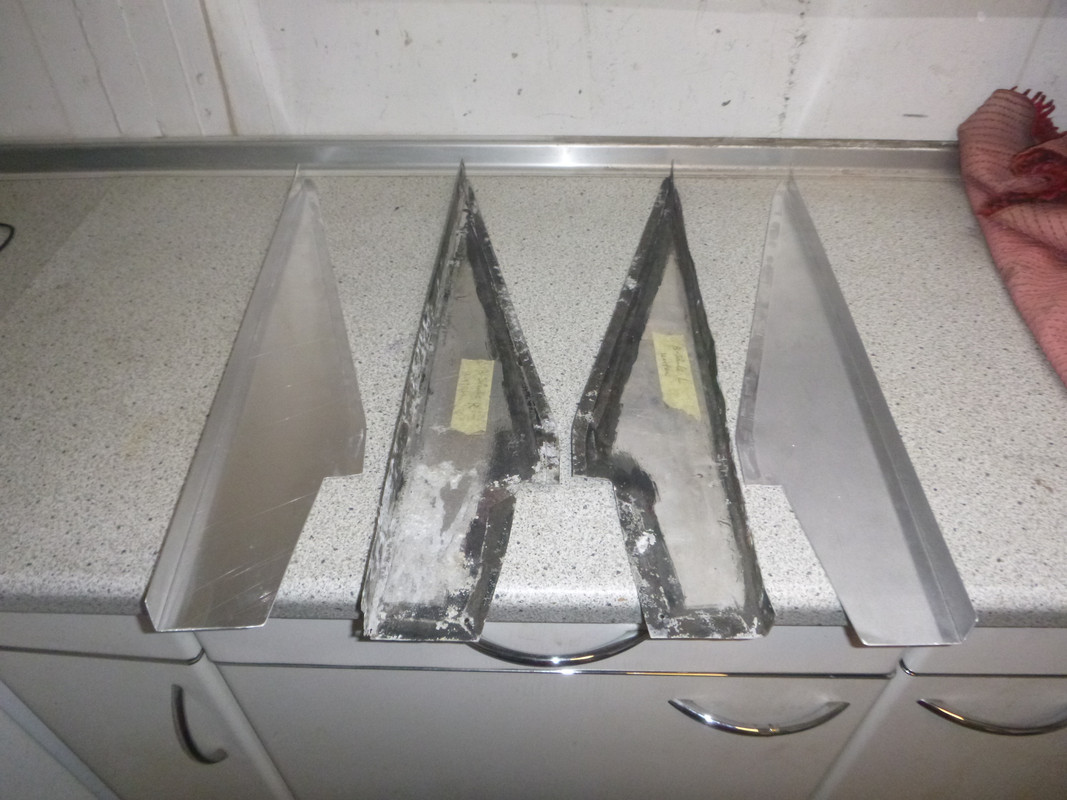
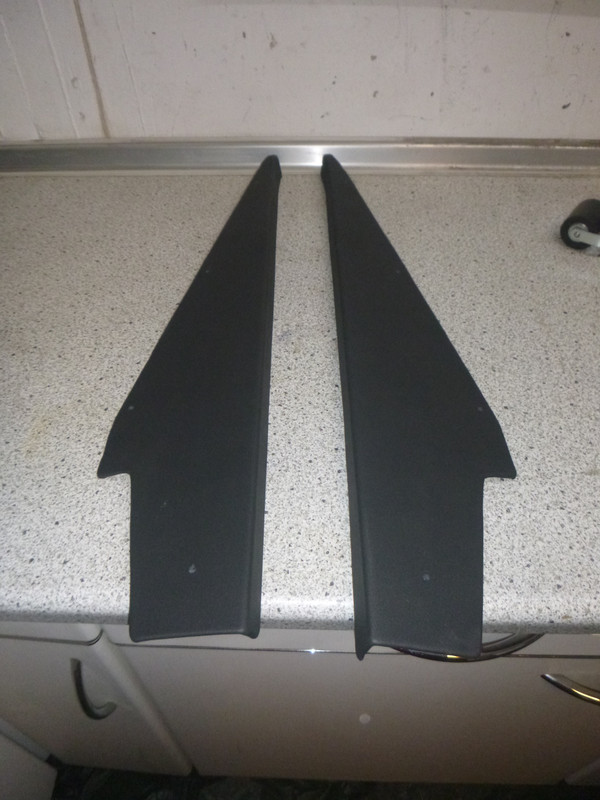
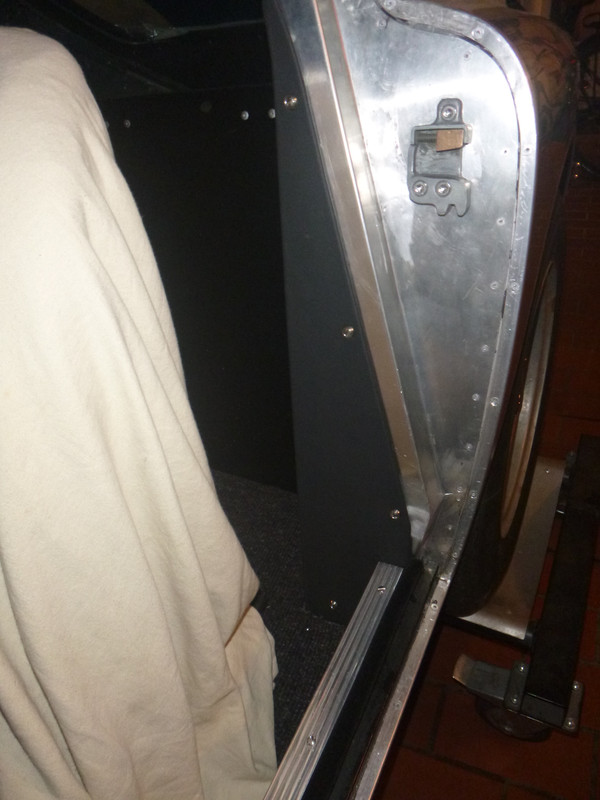

The A-pillar panel was easier to make but I changed the upper outline.
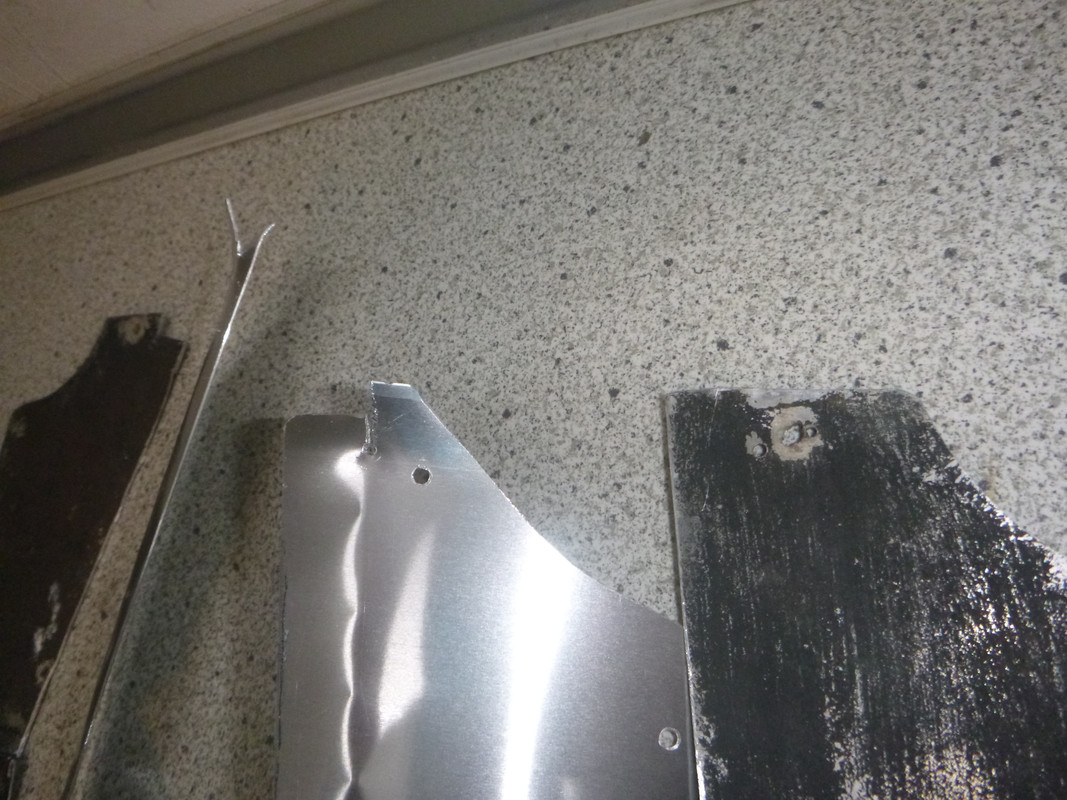
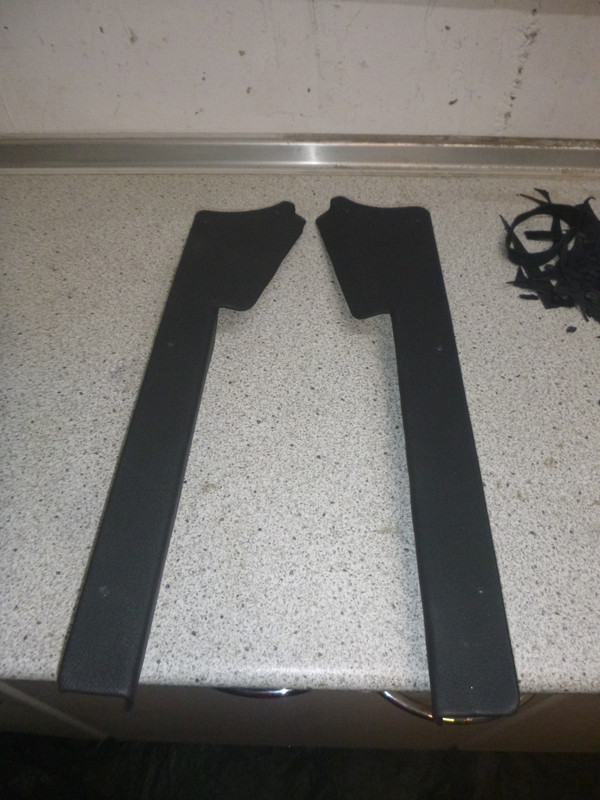
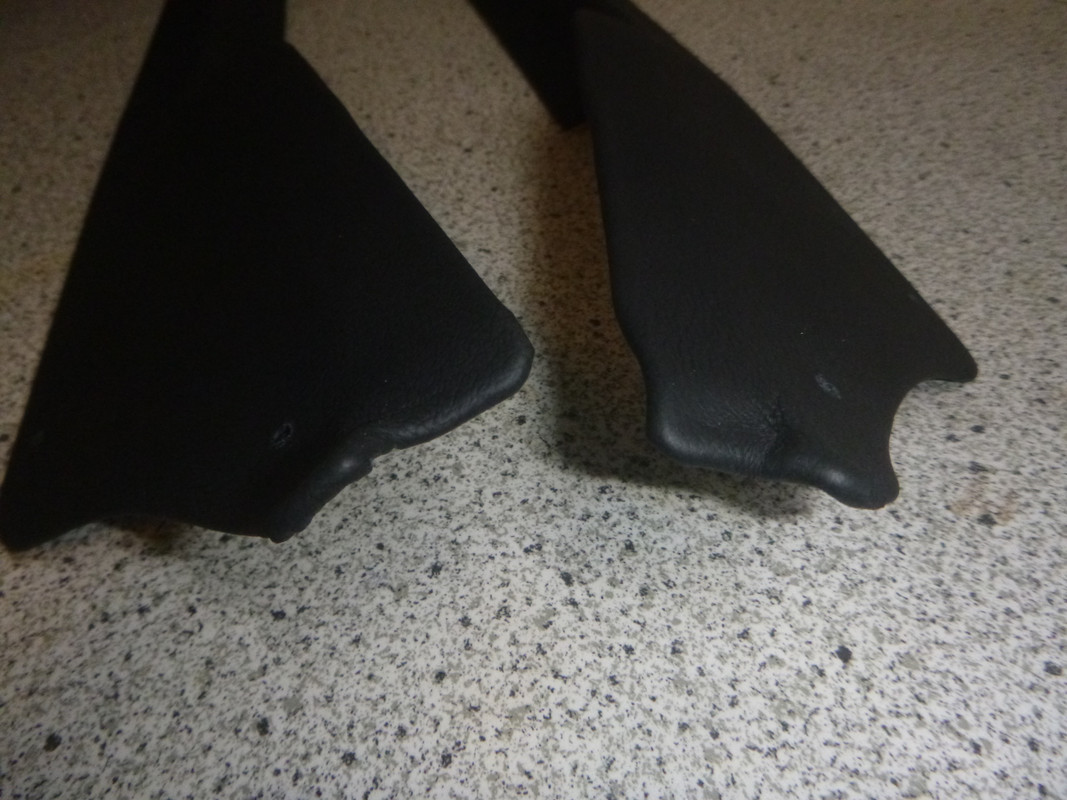
I think the fitting is ok, especially at the modified area.

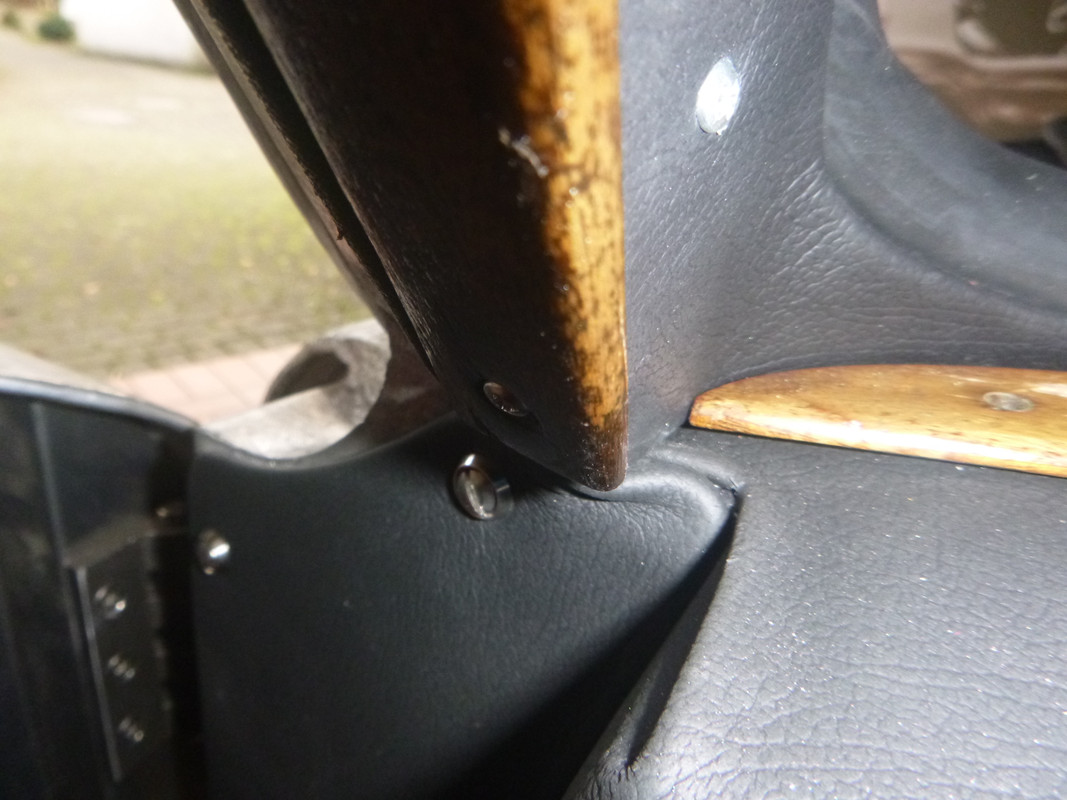
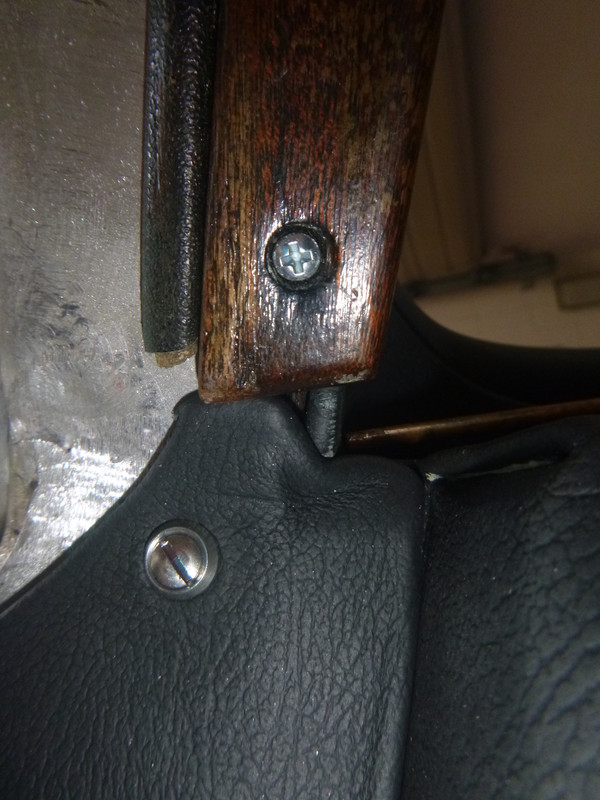
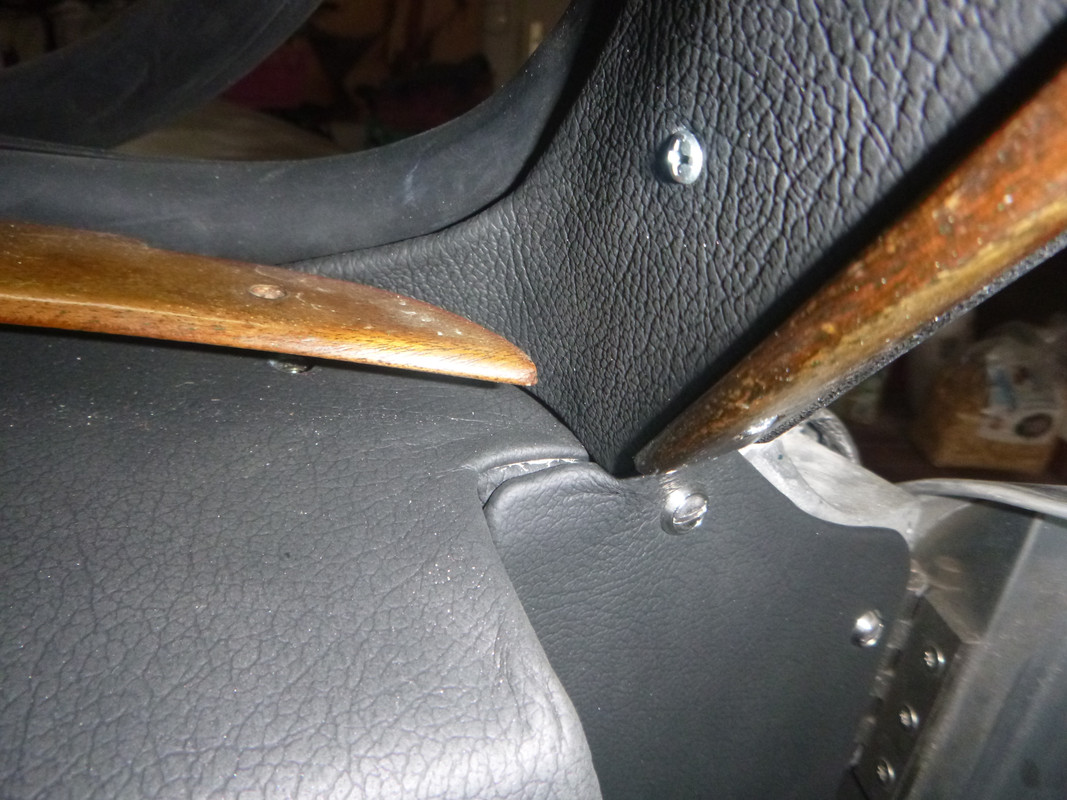
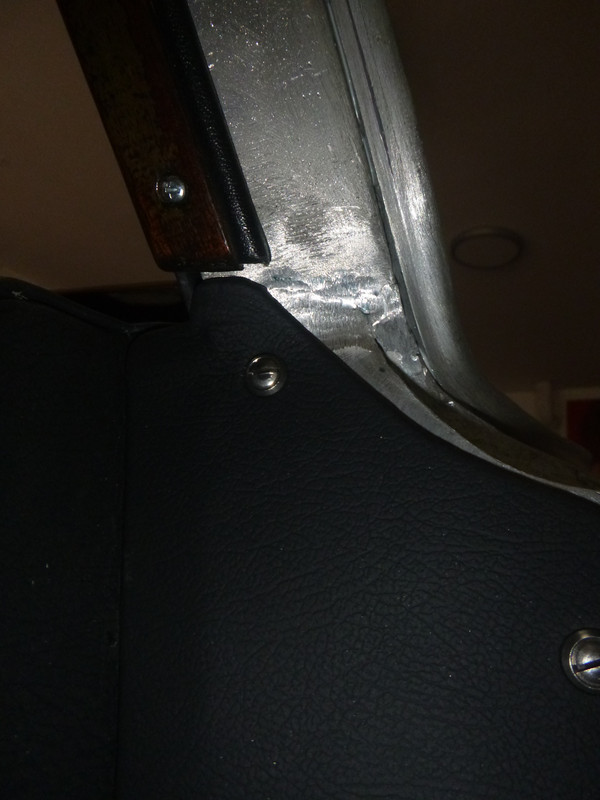


The panel for the B-pillar has a folded outer edge for enforcement. After two tries I think I got it.


The A-pillar panel was easier to make but I changed the upper outline.


I think the fitting is ok, especially at the modified area.


#14
Ace, Aceca & Greyhound Forum / Re: BE 646
December 10, 2023, 17:38:40
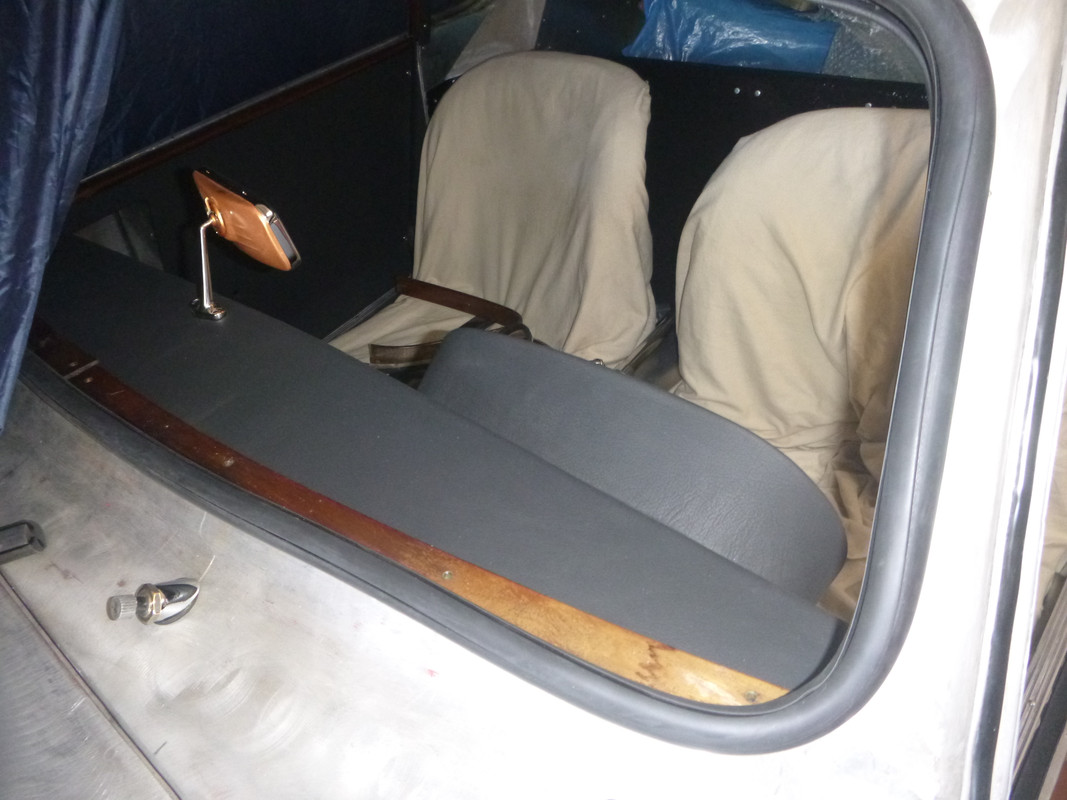
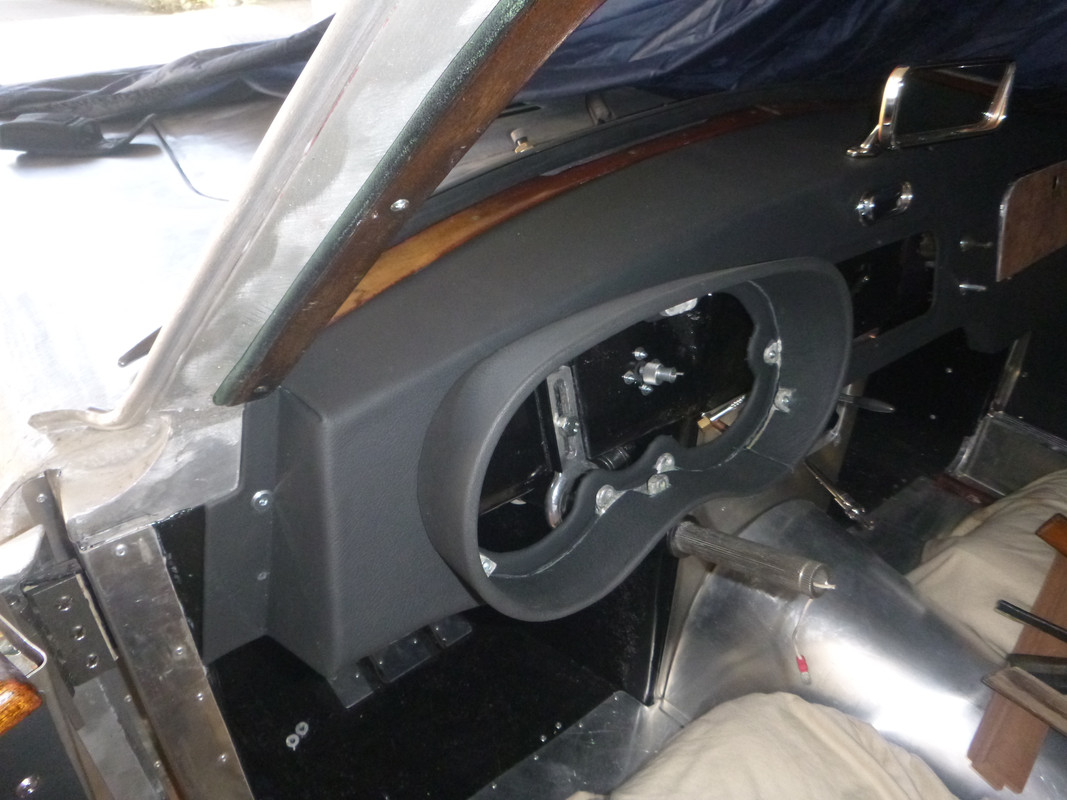
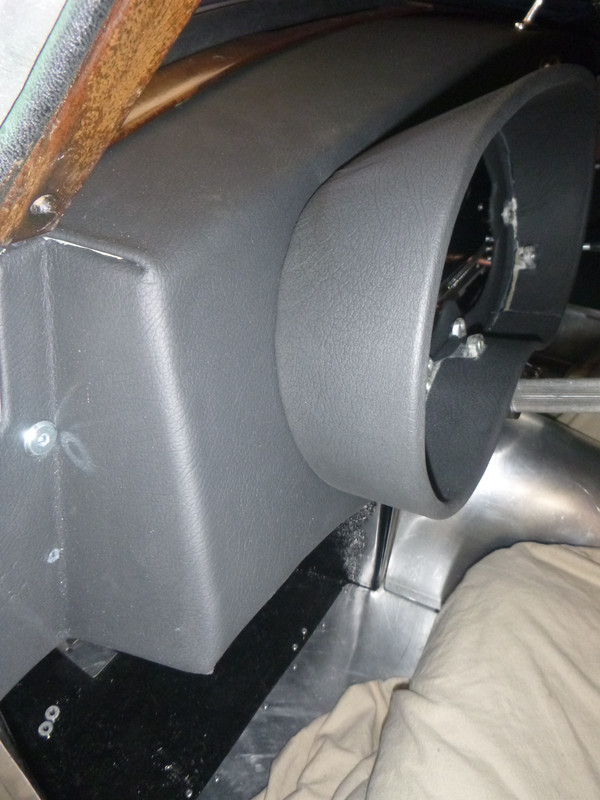
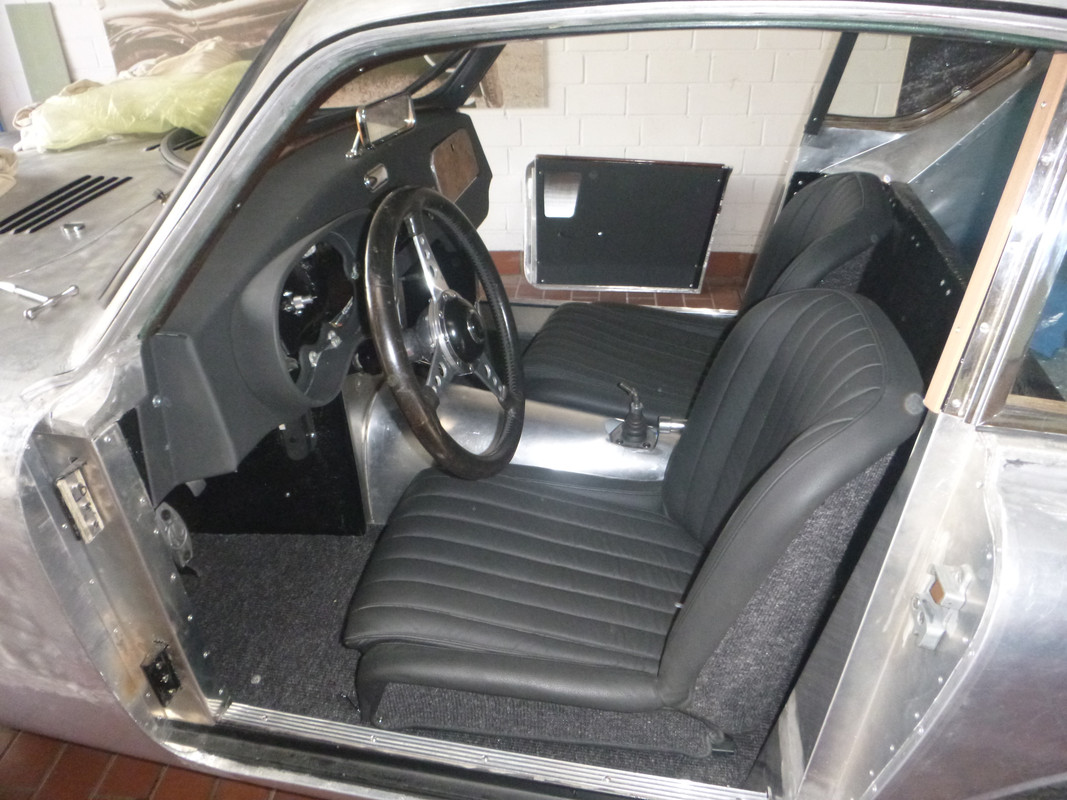
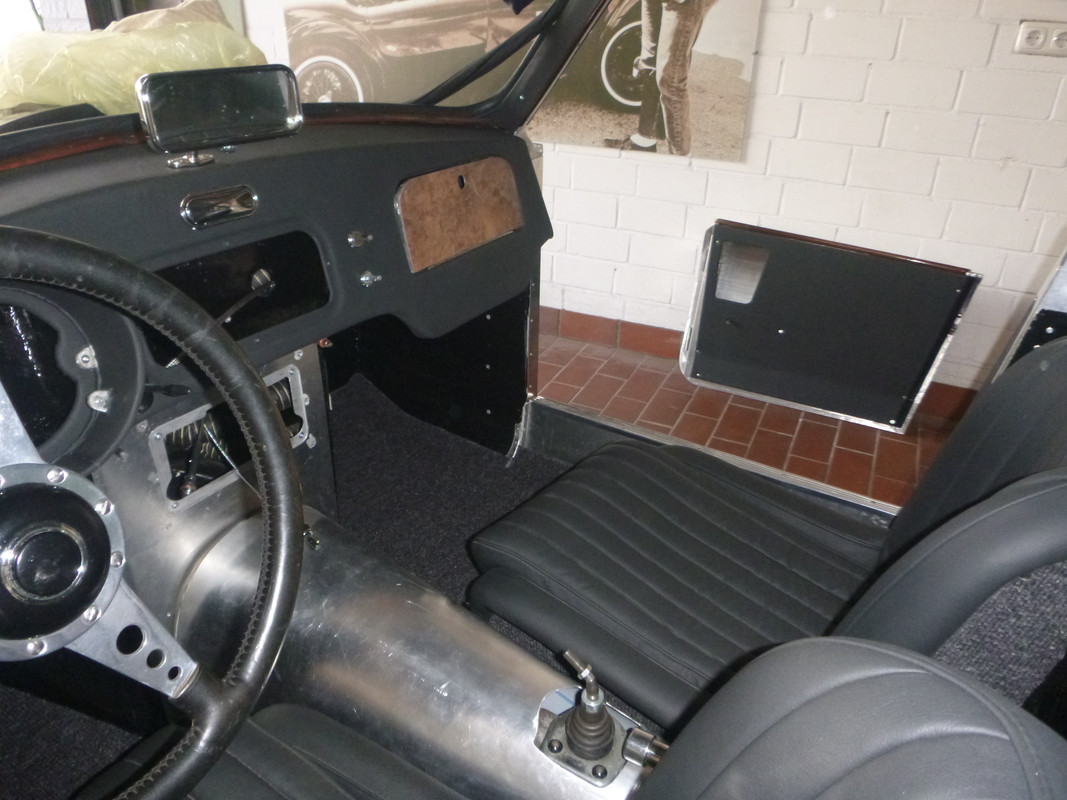
Wow, my last update was in summer. So, what happened during the last half year? Not so much. Nevertheless here are some pictures of the current status.
After covering the dashboard with leather I tried to do the same with the main instrument holder. This was really complicated. I had to do this work three times.

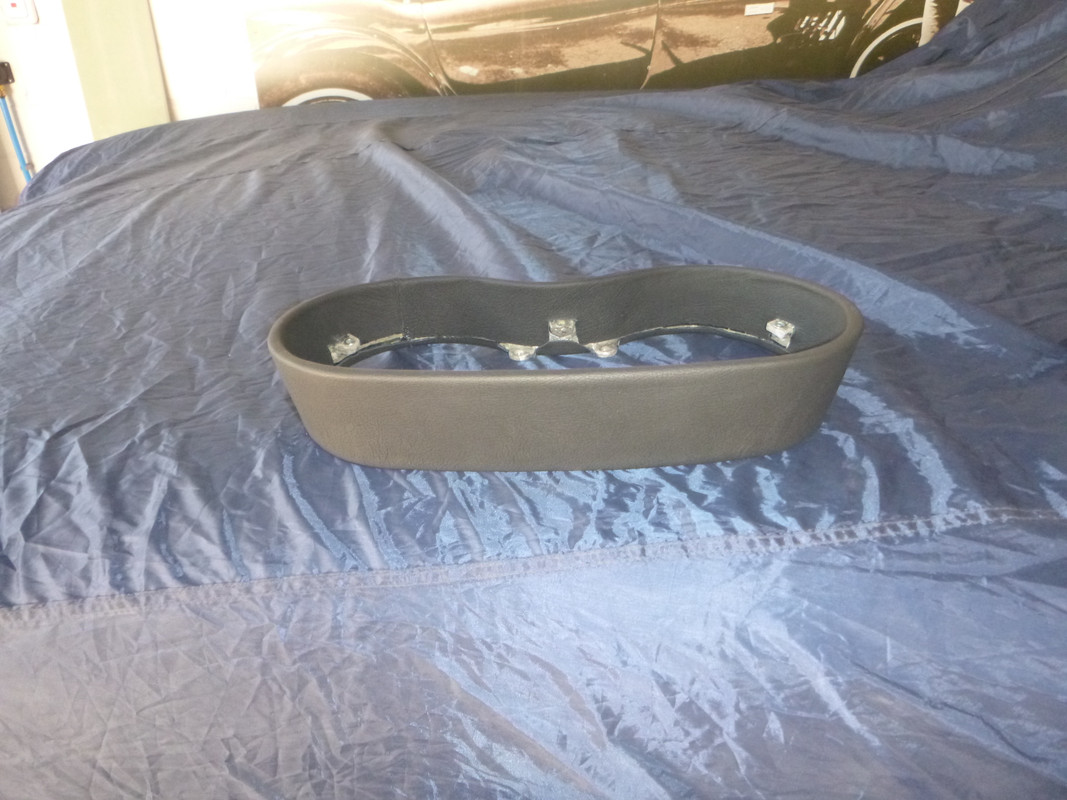
I tested the installation of additional front lamps
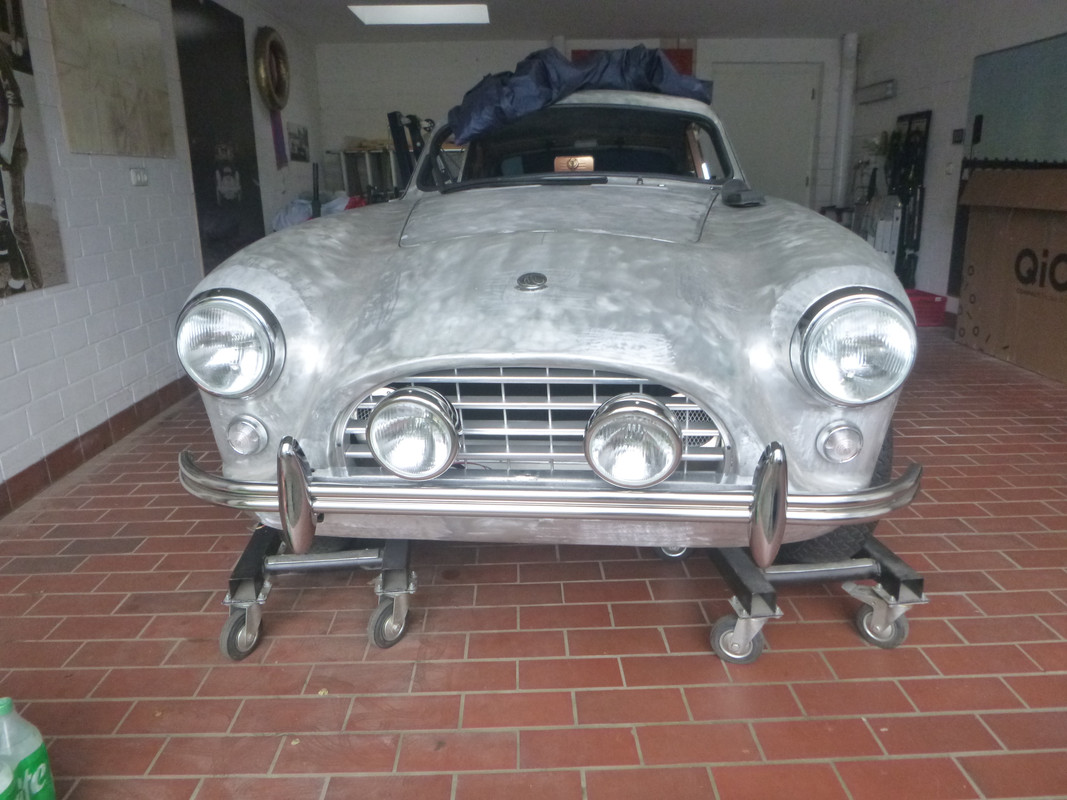
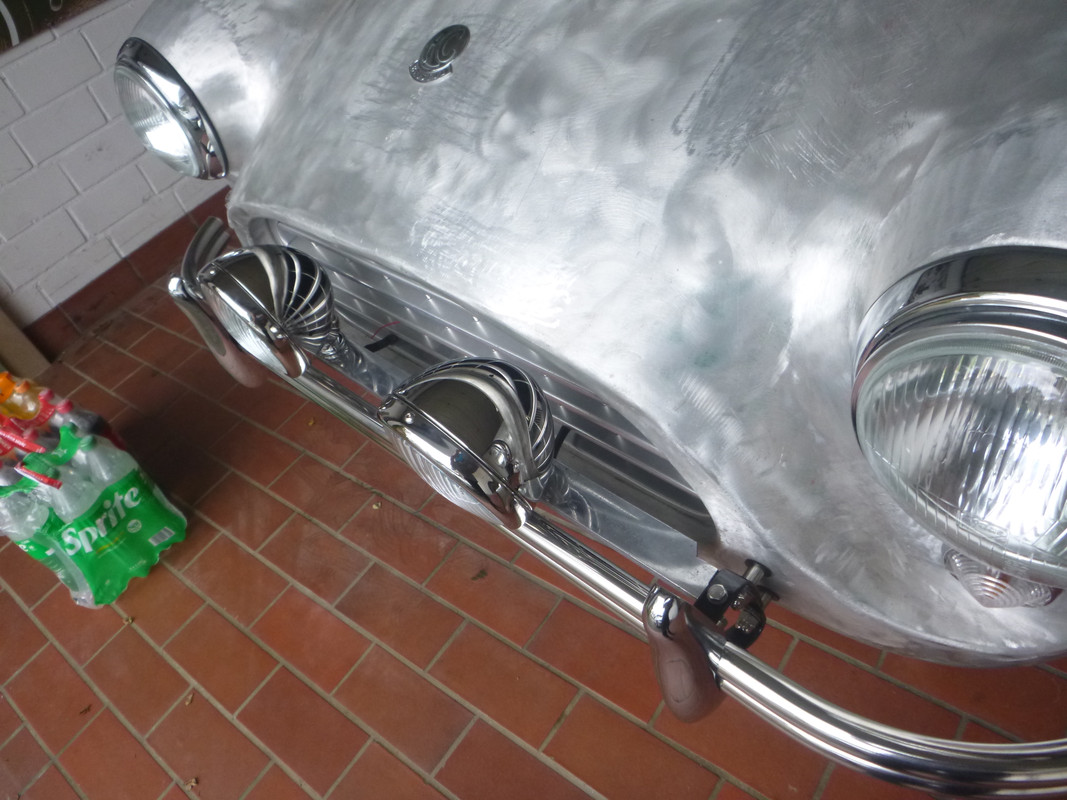
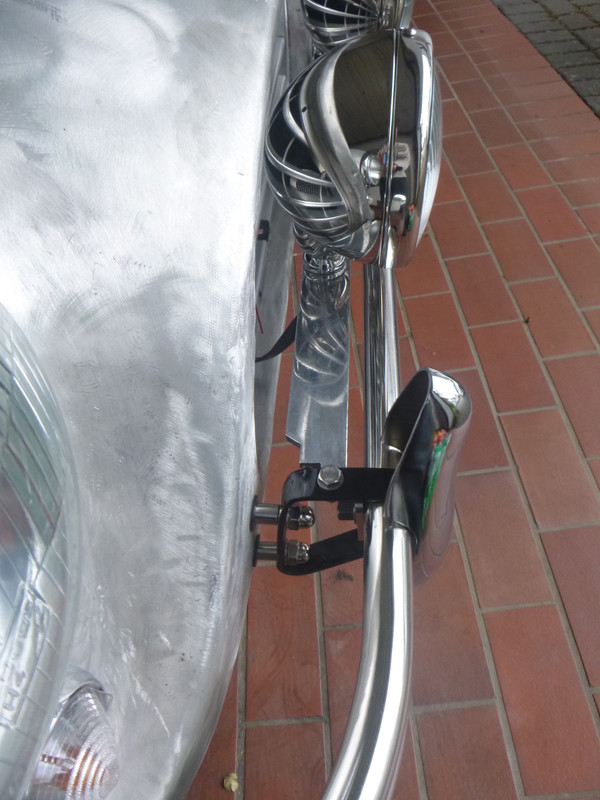
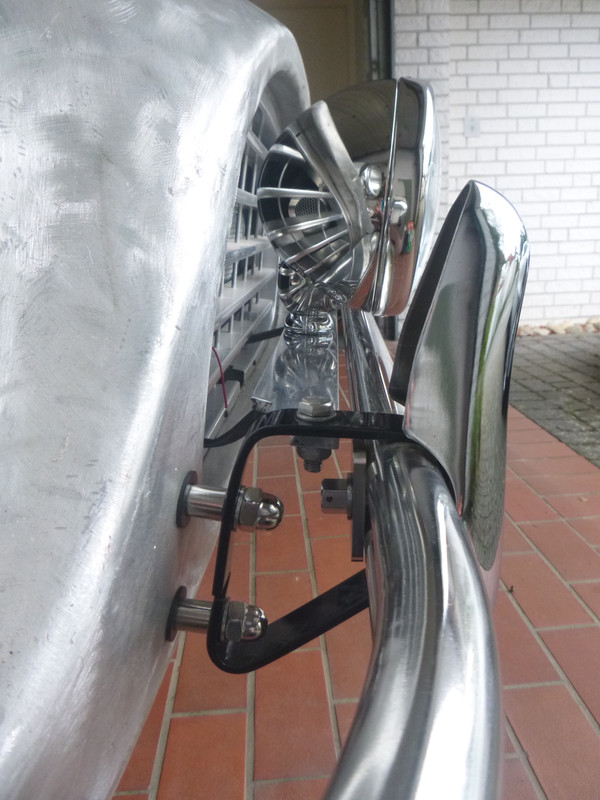
and cut carpet for the legroom
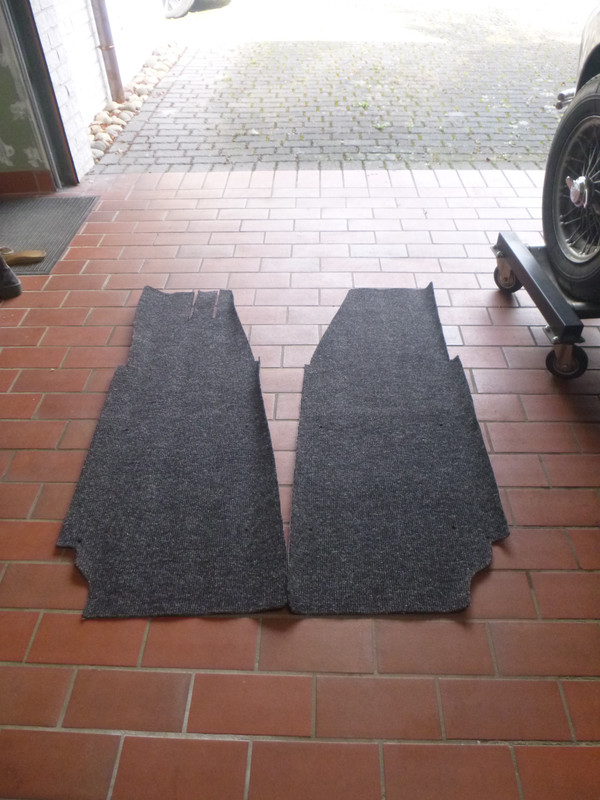



After that I had no excuse anymore not to start working on the doors. I postpone this for a quite long time because I had the feeling that this work will not very funny. And I wasn't disappointed :(
The first problem was that I couldn't close the door when the inside leather cover was mounted.
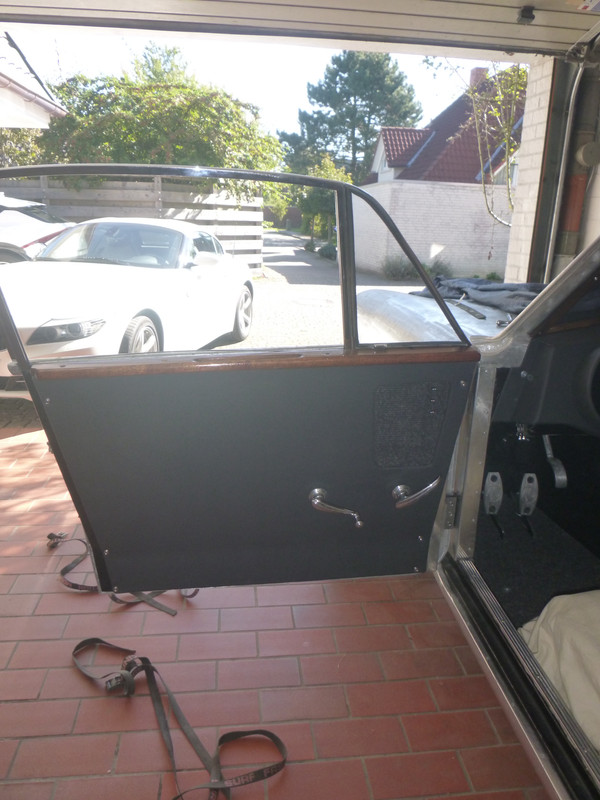
Reason was that the rear lower edge of the door directed to far into the car.

After fixing that the doors closed again. The right door worked like a charme but the left door had problems with falling into the second stage of locking from time to time. The reason was the big shim under the gear wheel of the look had play and sometimes it slipped out of the central position and jammed the gear wheel. No way to fix this without opening the locking mechanism.

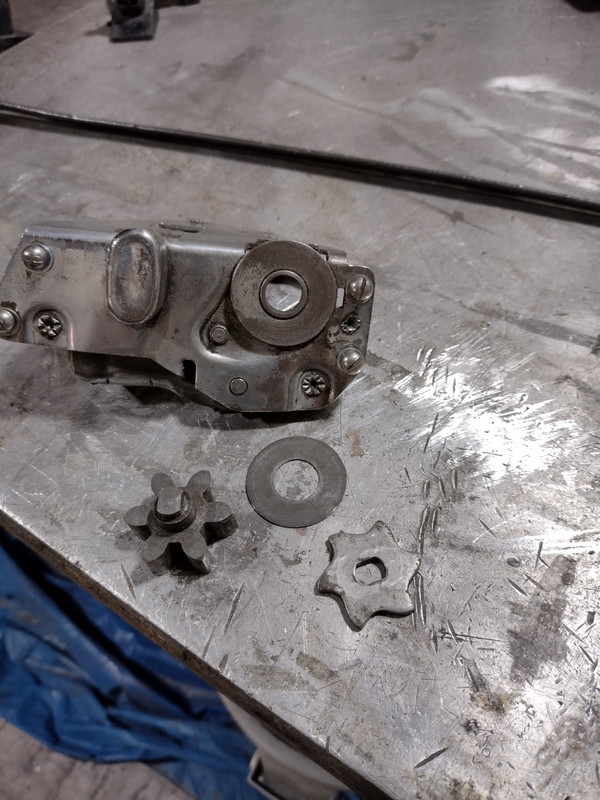
The reason why the shim could moved was that the guide bush was pushed to far inside and didn't guide the shim. After fixing this I assembled it but fixed the internal gear wheel with a screw just in case I have to reopen it again.
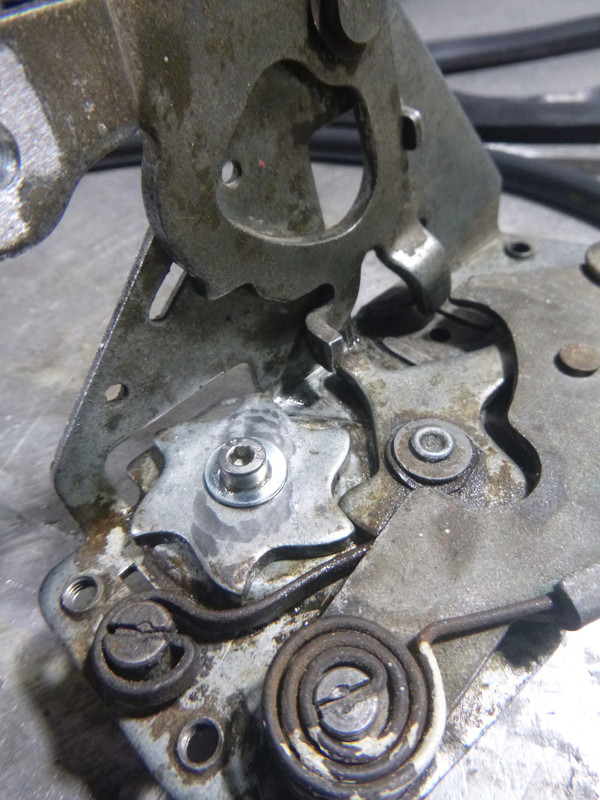
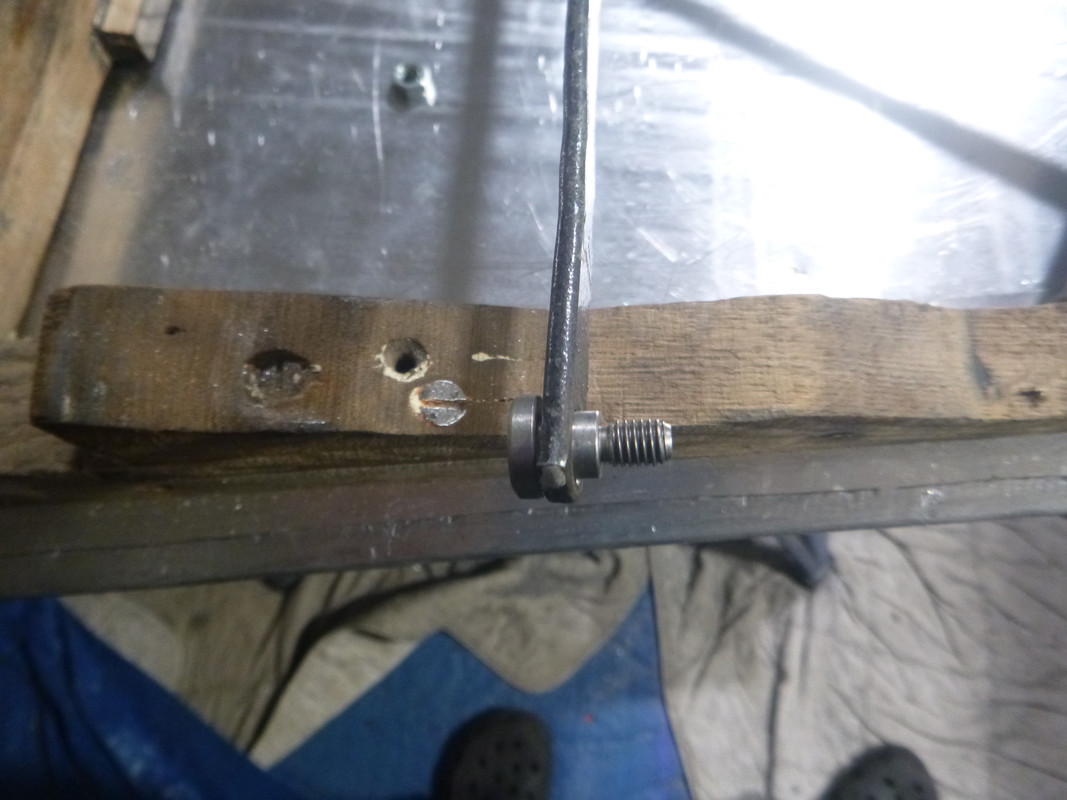
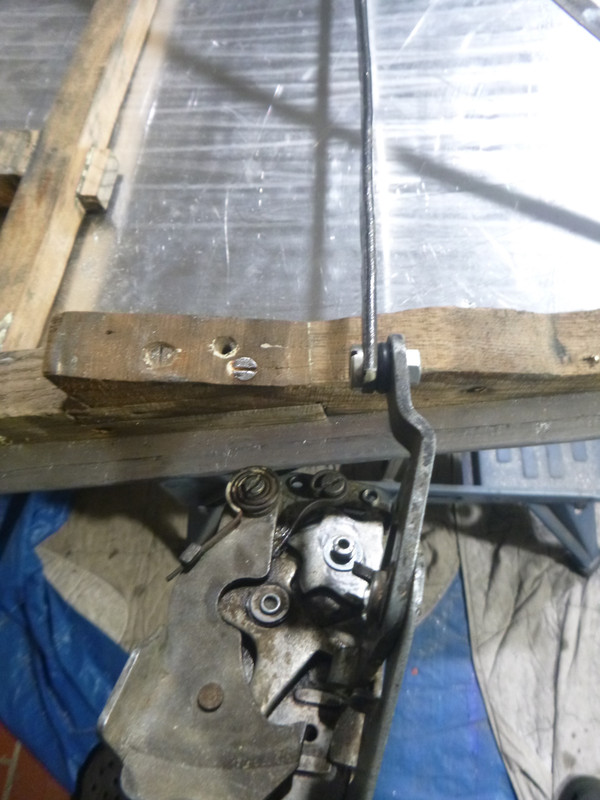
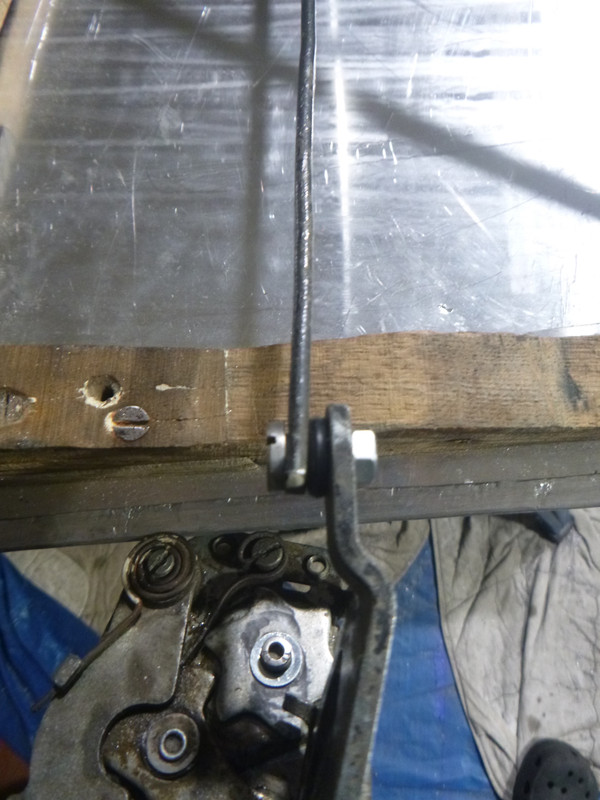
The connection of the lock with the drawbar is done by a special screw. It allows me to disconnect the mechanism and it has less play as the rivet solution.
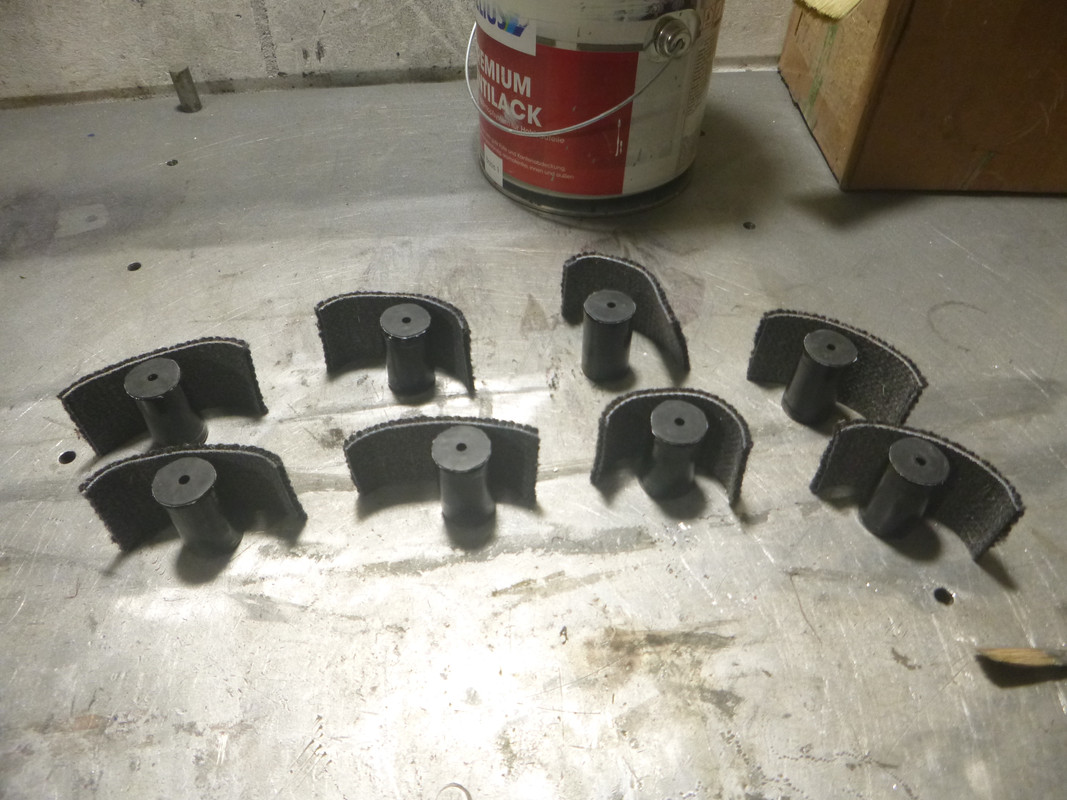
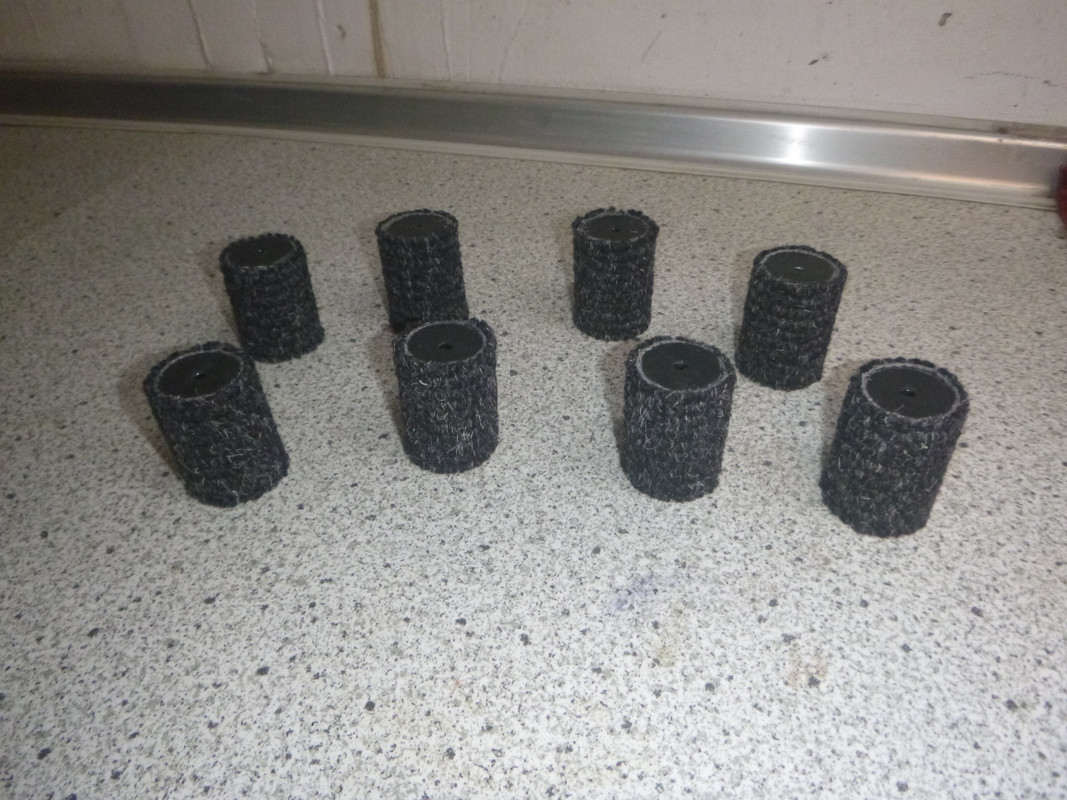
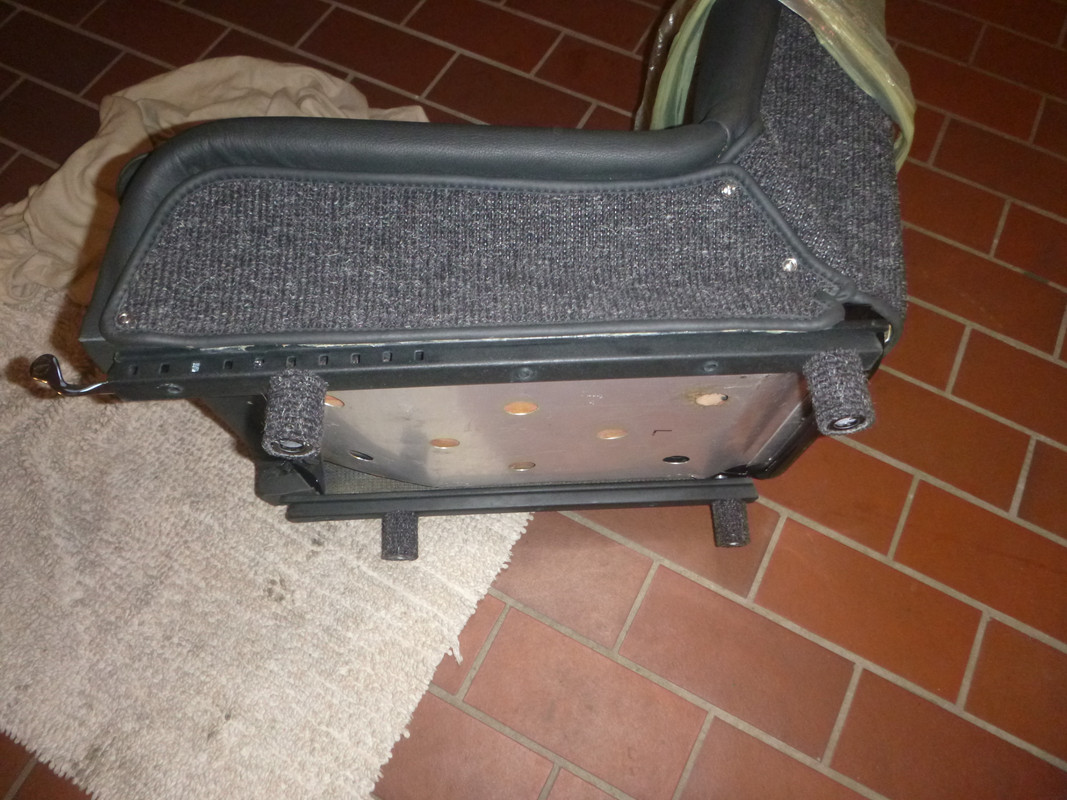
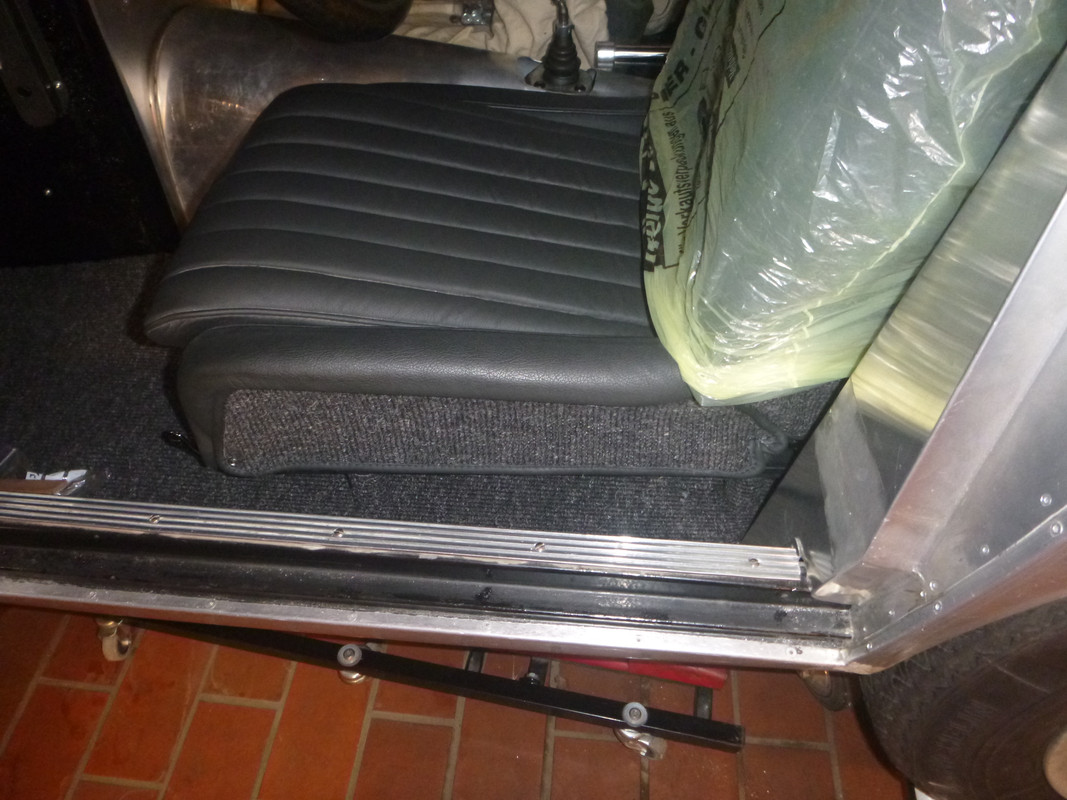
After that I had to notice that my wife and I are to small for this car. We both had problems with the view straight on. The seats had to lift up. I produced distance bushes and covered them with carpet.
I spent most of my time trying to fit the side windows into the body. 1 mm here, 1° there and so one. A quite frustating job. After that the rear side windows had to fbe fitted. Again an awful job. And I could see that it was an awful job already in the past. A lot of holes in the B-pillar showed different attempts to mount the rear side windows. I closed them all and drilled new holes and used rivet nuts.
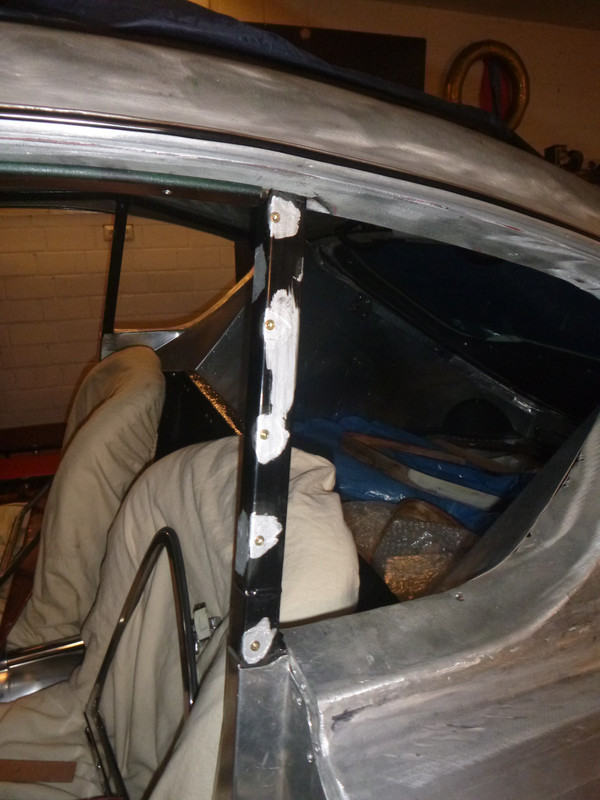
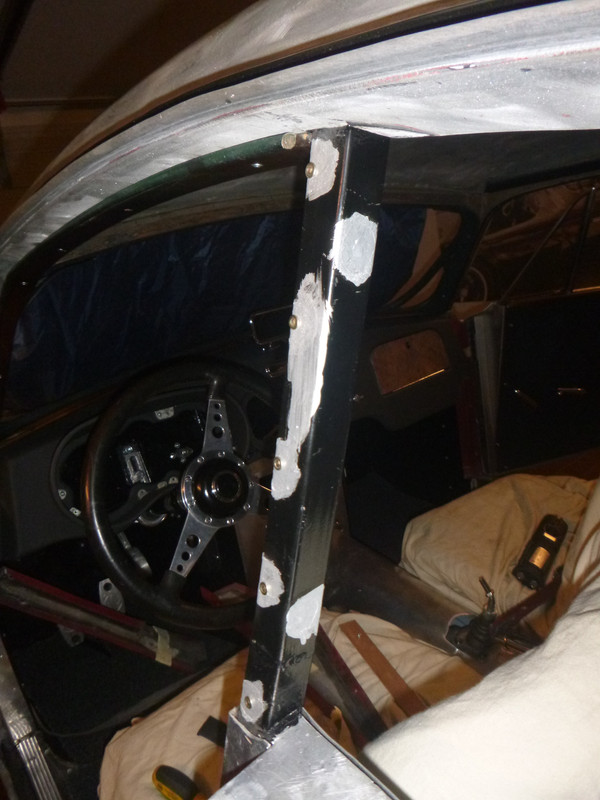
I am satisfied with the result on the left side
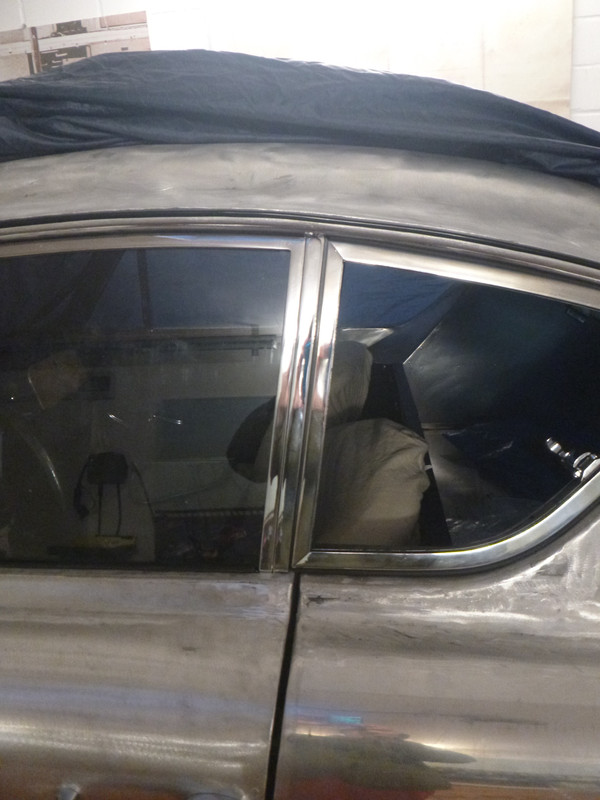
but the right side is not so good.
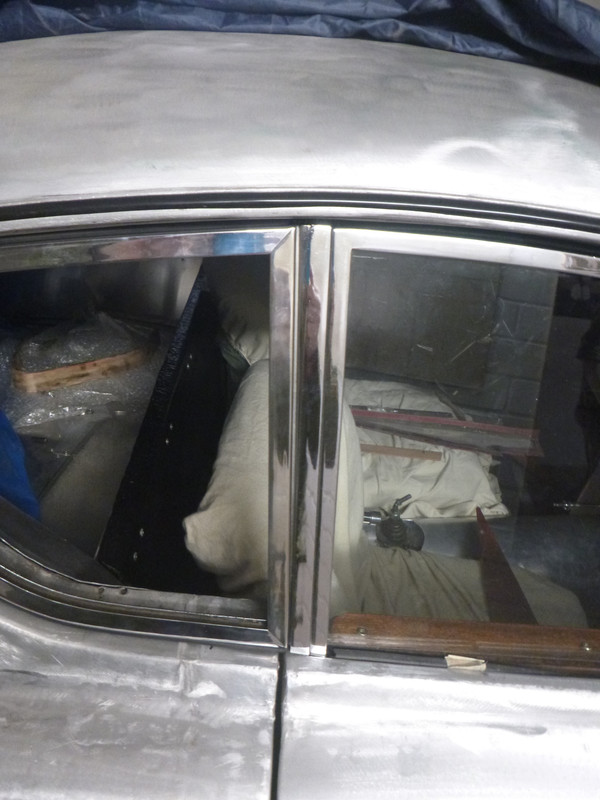
But I think this can only be fixed with a new rear side window frame (or a new body ...). I will keep it as it is. I checked a lot of Aceca pictures I collected during the last years and on many pictures I could see even more worse clearance.
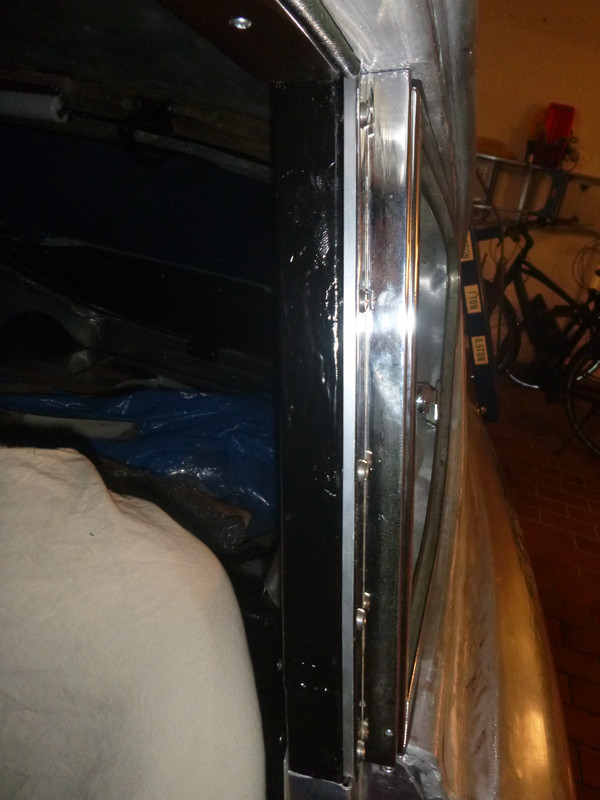
To get the right alignment between the rear side window and the door window I lined the frame of the rear side window with 5 mm aluminium.
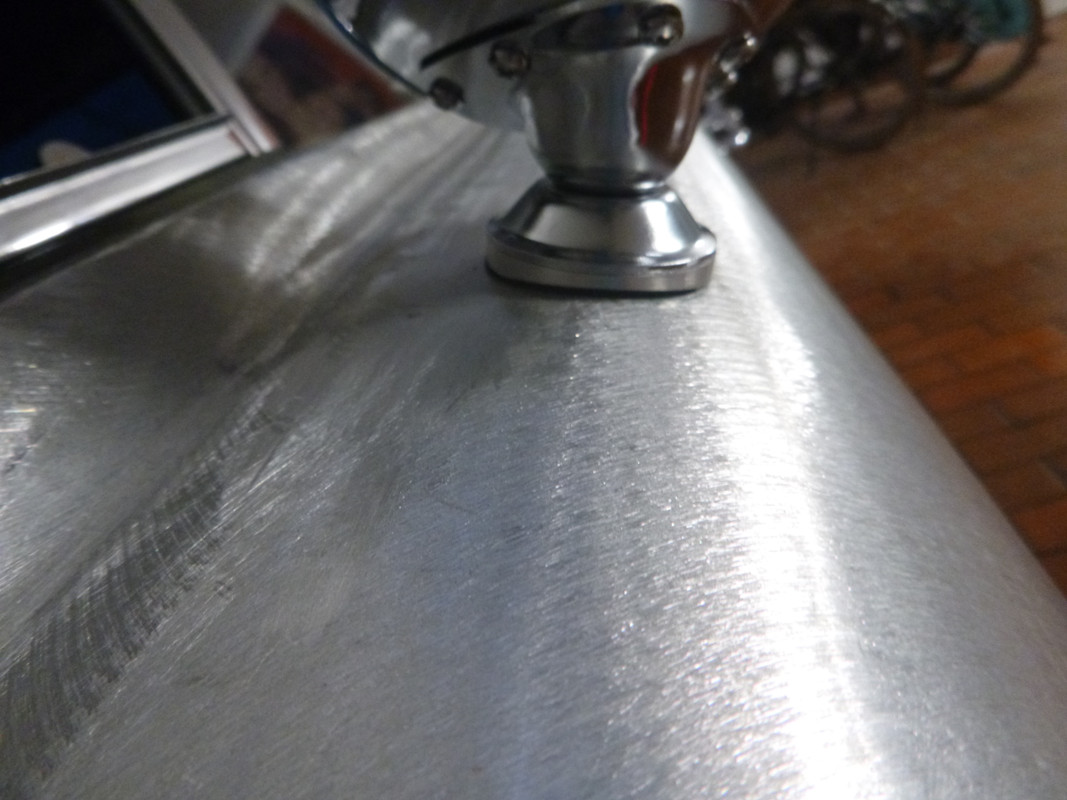
One little work during the last months was the installation of the outside mirror. I made a concave washer so the foot of the mirror hits the curve of the door.
That's it for this year. To be continued next year ...
After covering the dashboard with leather I tried to do the same with the main instrument holder. This was really complicated. I had to do this work three times.


I tested the installation of additional front lamps


and cut carpet for the legroom


After that I had no excuse anymore not to start working on the doors. I postpone this for a quite long time because I had the feeling that this work will not very funny. And I wasn't disappointed :(
The first problem was that I couldn't close the door when the inside leather cover was mounted.

Reason was that the rear lower edge of the door directed to far into the car.

After fixing that the doors closed again. The right door worked like a charme but the left door had problems with falling into the second stage of locking from time to time. The reason was the big shim under the gear wheel of the look had play and sometimes it slipped out of the central position and jammed the gear wheel. No way to fix this without opening the locking mechanism.


The reason why the shim could moved was that the guide bush was pushed to far inside and didn't guide the shim. After fixing this I assembled it but fixed the internal gear wheel with a screw just in case I have to reopen it again.

The connection of the lock with the drawbar is done by a special screw. It allows me to disconnect the mechanism and it has less play as the rivet solution.


After that I had to notice that my wife and I are to small for this car. We both had problems with the view straight on. The seats had to lift up. I produced distance bushes and covered them with carpet.


I spent most of my time trying to fit the side windows into the body. 1 mm here, 1° there and so one. A quite frustating job. After that the rear side windows had to fbe fitted. Again an awful job. And I could see that it was an awful job already in the past. A lot of holes in the B-pillar showed different attempts to mount the rear side windows. I closed them all and drilled new holes and used rivet nuts.


I am satisfied with the result on the left side

but the right side is not so good.

But I think this can only be fixed with a new rear side window frame (or a new body ...). I will keep it as it is. I checked a lot of Aceca pictures I collected during the last years and on many pictures I could see even more worse clearance.
To get the right alignment between the rear side window and the door window I lined the frame of the rear side window with 5 mm aluminium.

One little work during the last months was the installation of the outside mirror. I made a concave washer so the foot of the mirror hits the curve of the door.

That's it for this year. To be continued next year ...
#15
Ace, Aceca & Greyhound Forum / Re: Looking for info on SA Greyhound
September 29, 2023, 06:12:54
Woah, nice and clean workshop ;)

